Rudolfo Hotel: Part 2
WELCOME TO RUDOLFO HOTEL: PART 2 TUTORIAL
In Part 1 of Rudolfo Hotel tutorials, we created a booking management application for hotel administrators.
In this part, we will expand the existing application with a web page made specifically for the guests of Rudolfo Hotel and learn how to work with the CSS theme of the web page.
In case you haven’t worked on the first part, we highly recommend starting with it.
CREATE A WEB PAGE FOR GUESTS
For the Booking data type create a new web view and name it Rudolfo Hotel.
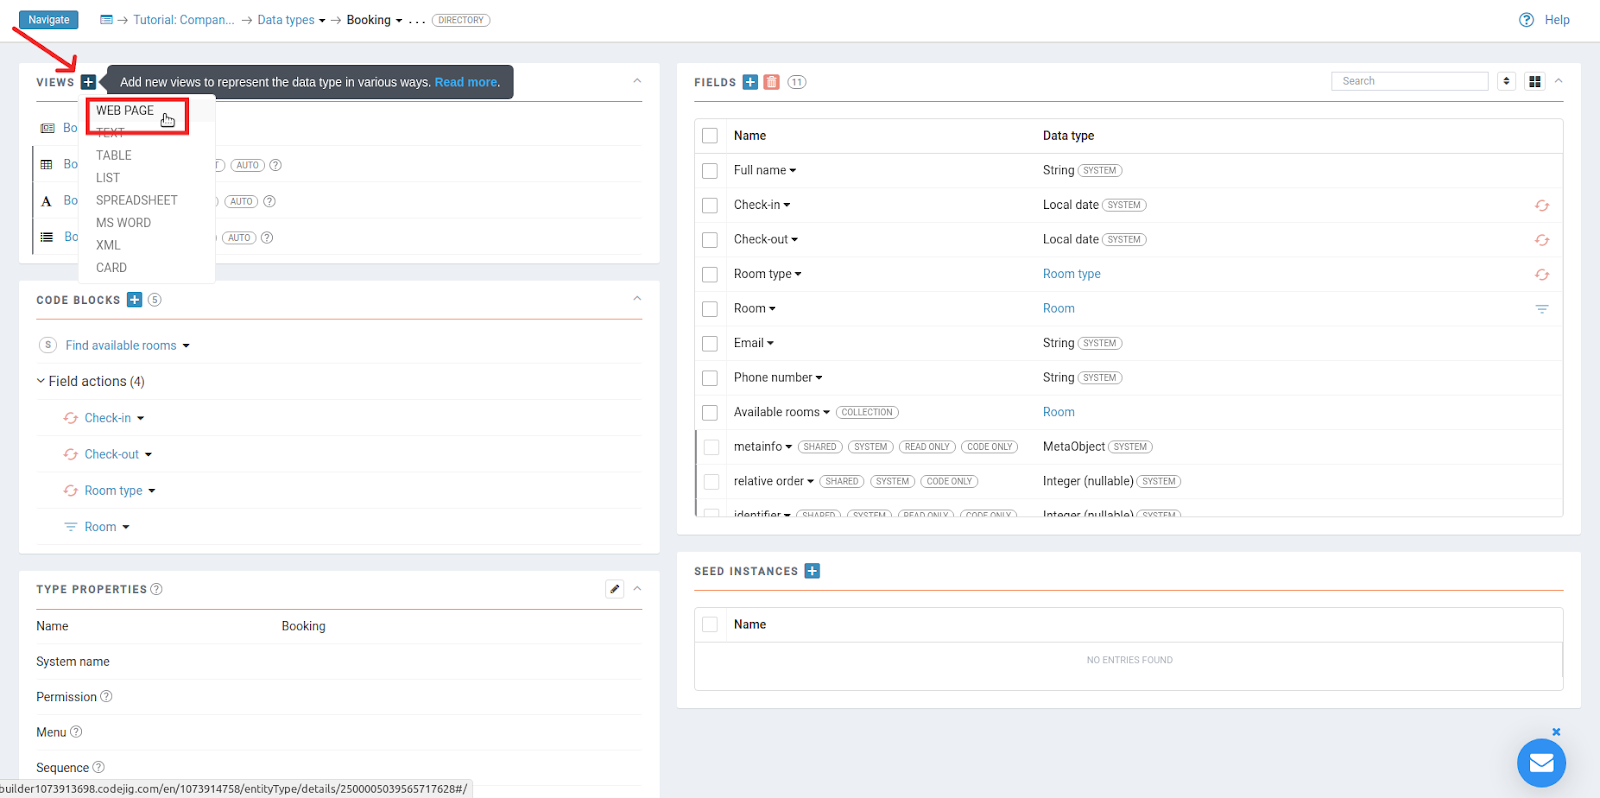
The web page has been created with all the attached fields. Since fields are reused, all previously created field events (like On field change, etc.) are already attached.
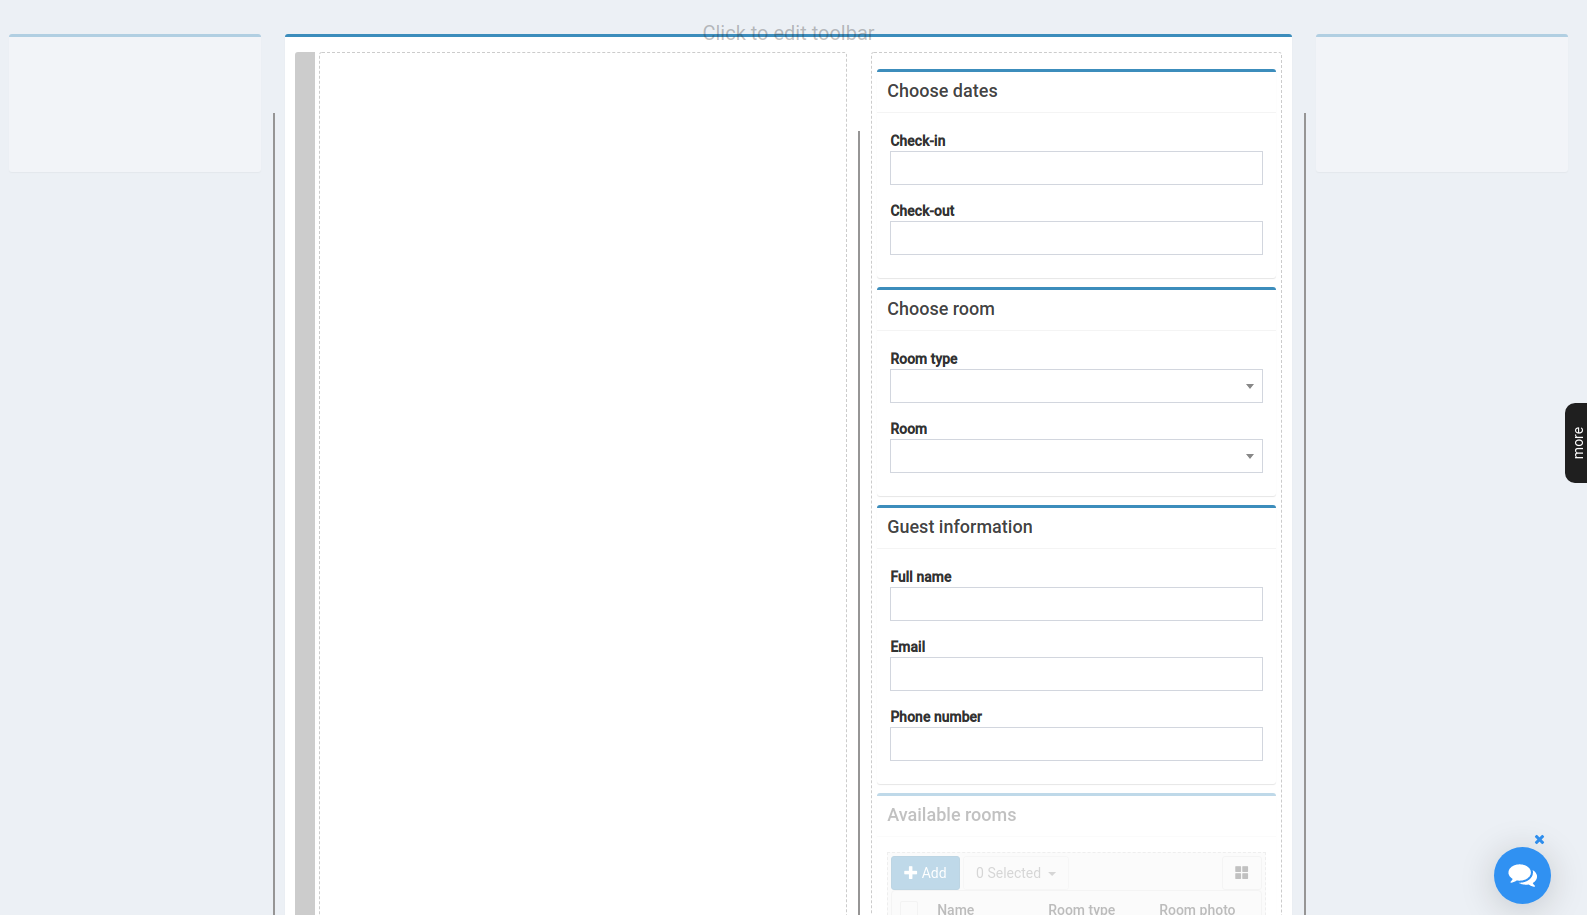
Hide both the toolbar and Available rooms table.
Place Check-in and Check-out fields into a Group box with header Choose dates.
Do the same step for Room type and Room inside Choose room group box, and Full name, Email, and Phone number inside the group box with header Guest information.
Rearrange elements on the page as it is shown below:
Make all fields required.
DISABLE REDIRECT TO CREATE NEW ITEM
Click on the Room field. In Properties → GENERAL → Create new link action dropdown choose Don’t show create new.
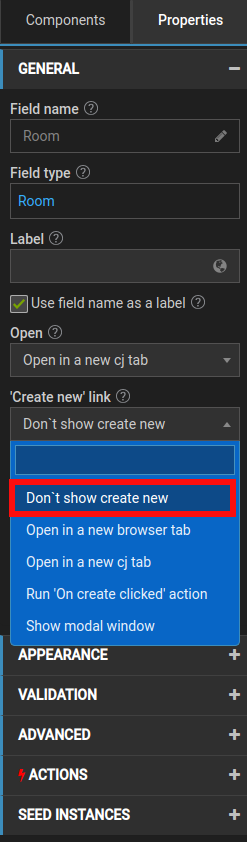
Repeat the same step with the Room type field.
DON’T SHOW LINK VIEW FOR THE FIELD
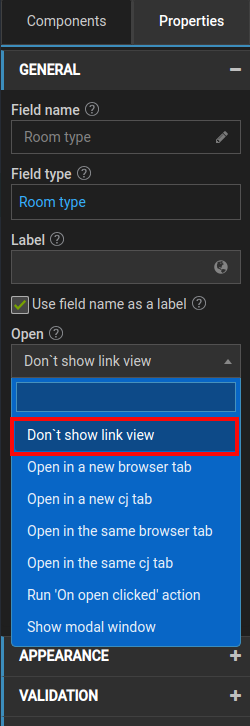
Click on the Room type field. In Properties → GENERAL → Open dropdown choose Don’t show link view.
ADD BOOK ROOM BUTTON
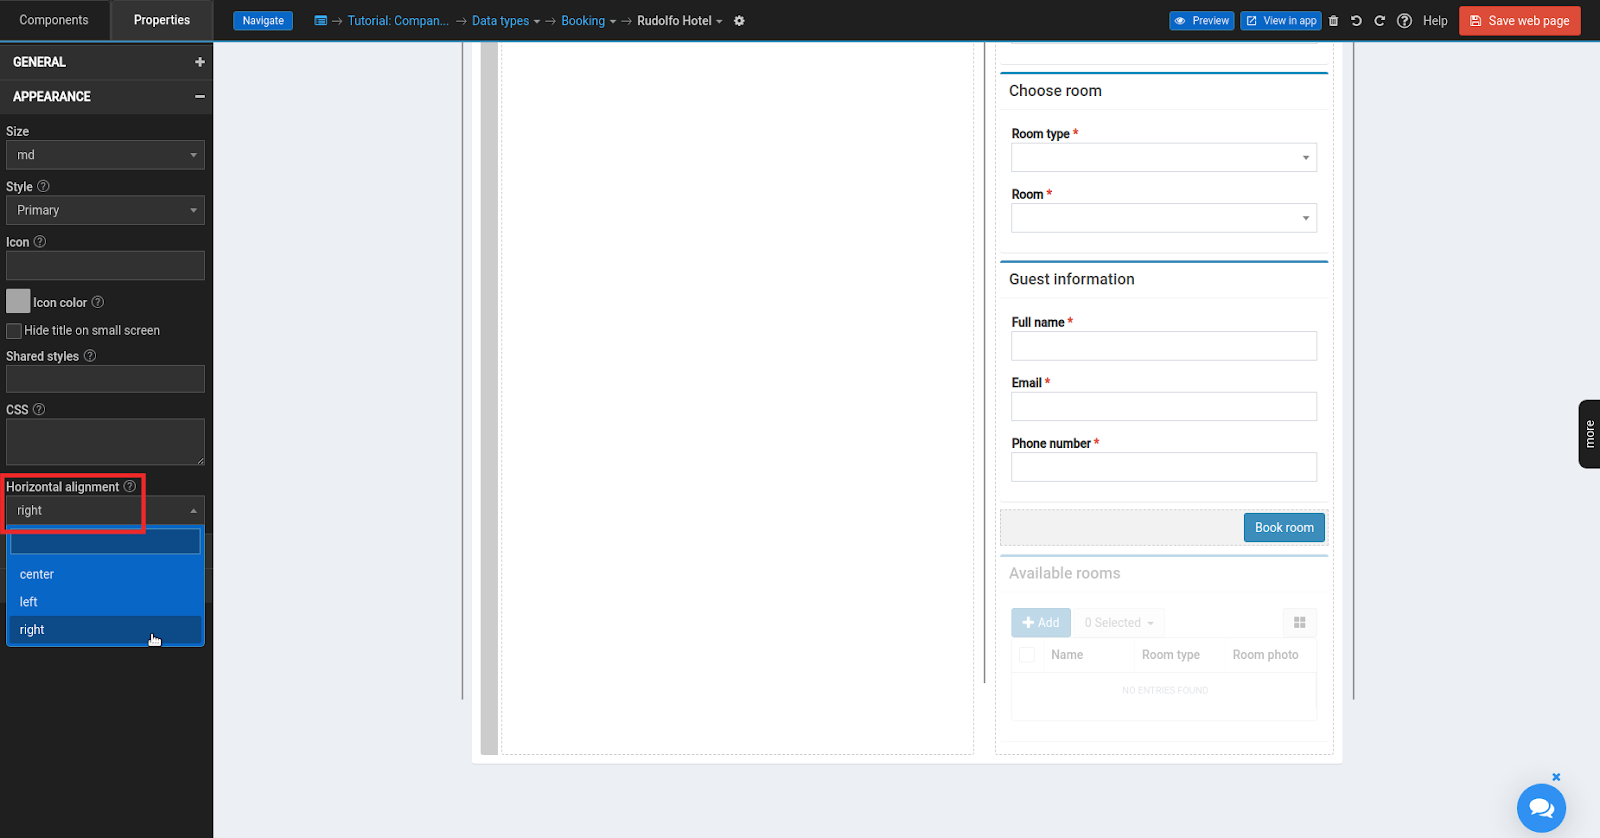
Add a button to the page under the Guest information group box. Name it Book room.
In Properties → APPEARANCE set Horizontal alignment to the right.
SAVE BOOKING
Click on the Book room button. In Properties → ACTIONS add new Server action. Name it Save booking.
Save the page and redirect to the created code block.
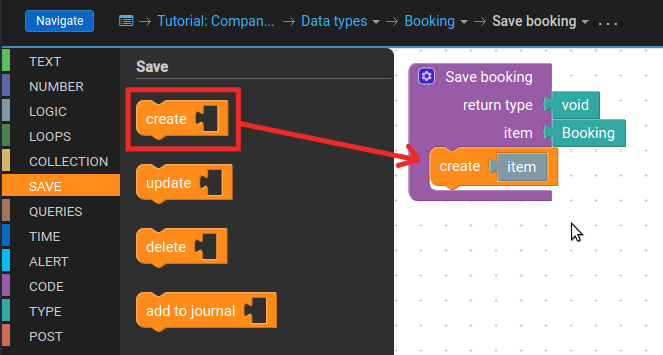
In the Blocks panel → Save section Drag in create block. Place the item inside a free slot of the create block. This create block creates and saves an object item in the database.
ASSIGN ID TO ELEMENT
Let’s show each section of the Booking form only after filling the previous one.
Mark as Hidden (Properties → GENERAL) Choose room, Guest information group boxes as well as Book room button.
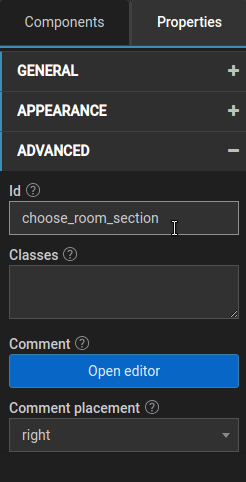
For Choose room group box in Properties → ADVANCED assign choose_room_section to the Id field.
Repeat this step with the Guest information group box by assigning its Id to guest_information_section. And for the Book room button with Id book_room_button.
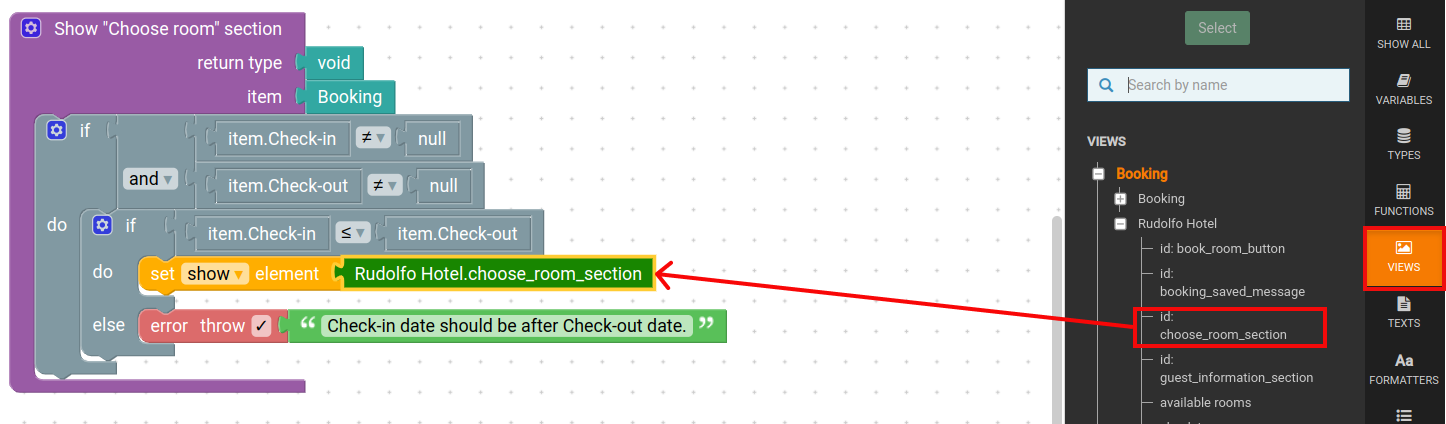
SHOW ROOM SECTION
On the Booking data type add a Custom action that runs on Client. Name it Show “Choose room” section.
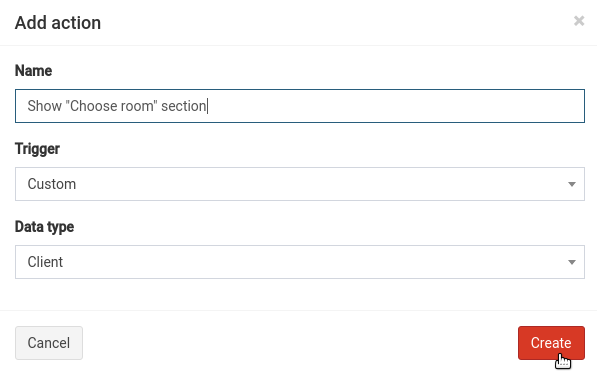
Press Create and go to the Code blocks editor.
Check if dates are chosen:
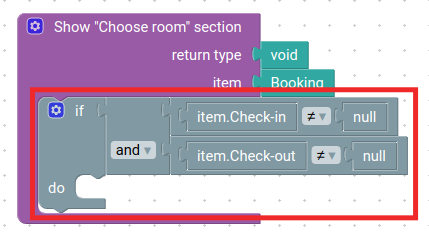
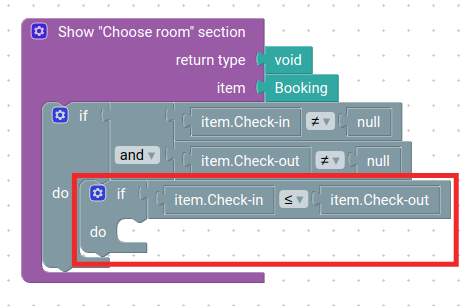
Check if the item.Check-in date is before item.Check-out:
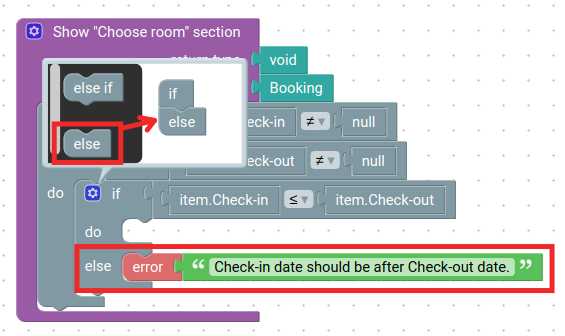
If not, notify the user with an error message “Check-in date should be after Check-out date.”
If dates are okay, then show the next section.
Use block Form -> set show element and set its action mode to Show .
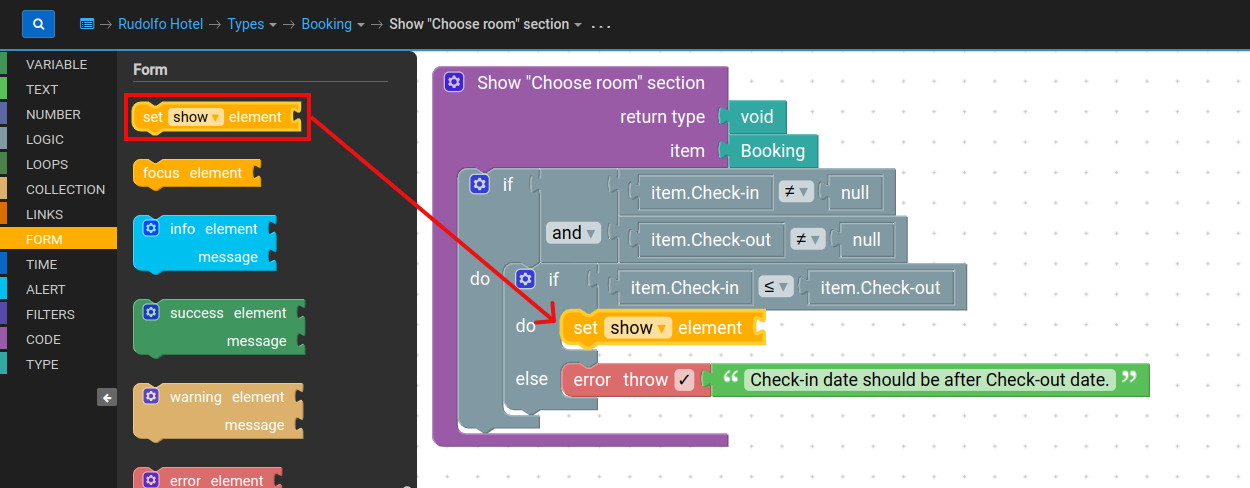
In the Data panel click on the View, select Rudolfo Hotel view, drag hoose_room_section and attach it to the set show element block.
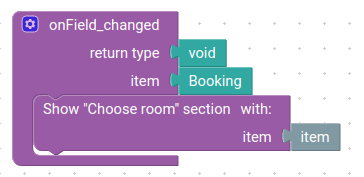
ON FIELD CHANGED
On the Booking page for the fields Check-in and Check-out create an event On field changed in Properties → ACTIONS.
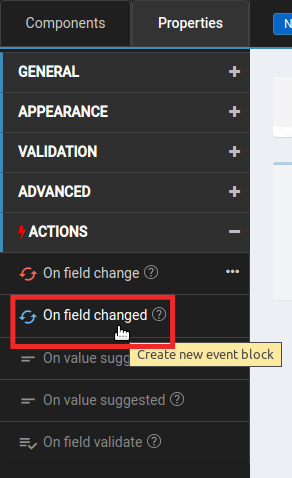
Execute previously created Show “Choose room” section custom action.
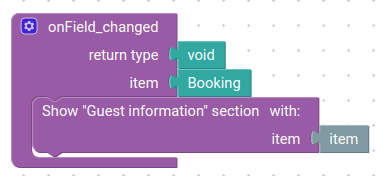
SHOW GUEST INFORMATION SECTION
On the Booking data type add a Custom action that runs on Client. Name it Show “Guest information” section.
Check if Room type and Room are selected:

Show element on the page with Id Rudolfo Hotel.guest_information_section.
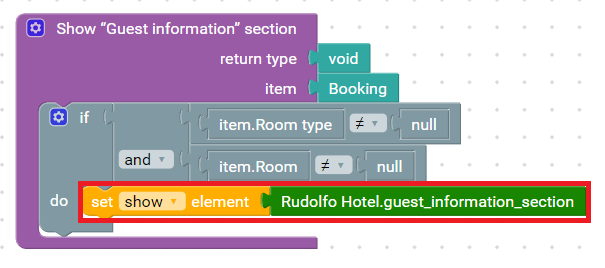
Execute this function inside On field changed event for Room type and Room fields.
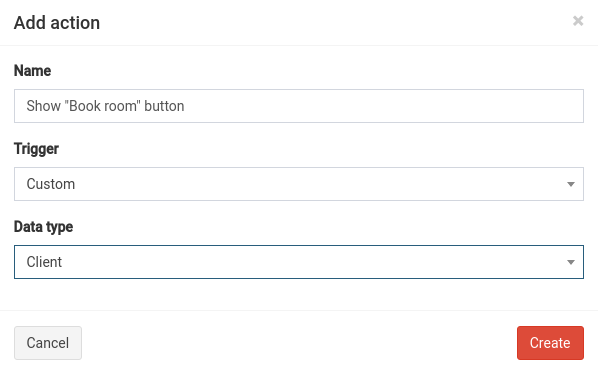
SHOW BOOK ROOM BUTTON
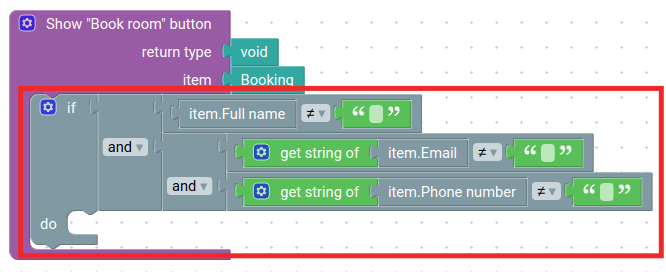
On the Booking data type add a custom client action code block. Name it Show “Book room” button.
Check if fields Full name, Email and Phone number are filled by comparing them with an empty string.
If fields aren’t empty, then show the element with Id Rudolfo Hotel. book_room_buttom.
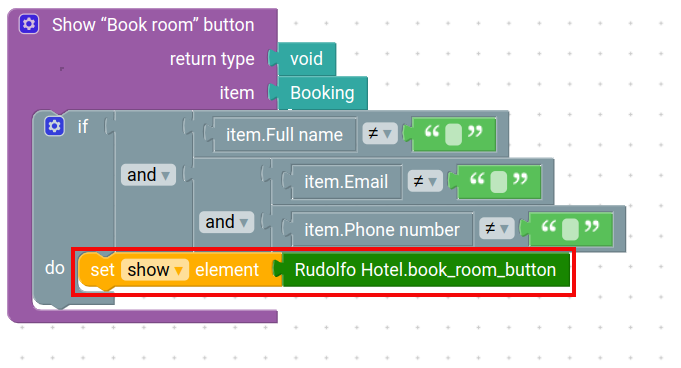
Execute this action for On field change event for Full name, Email and Phone number fields.
ADD BOOKING SAVED MESSAGE
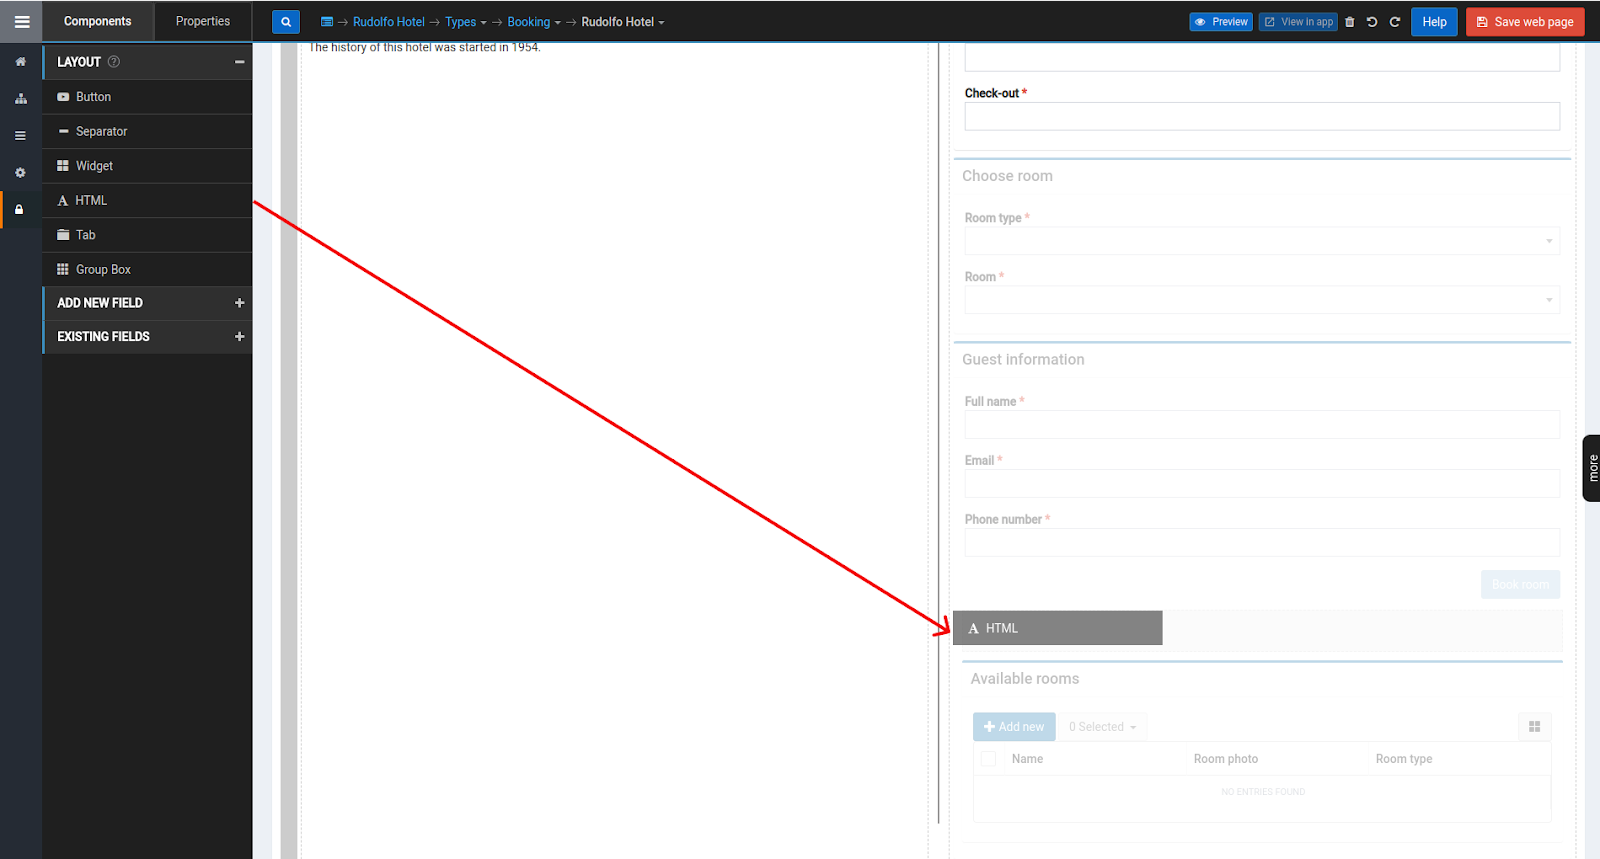
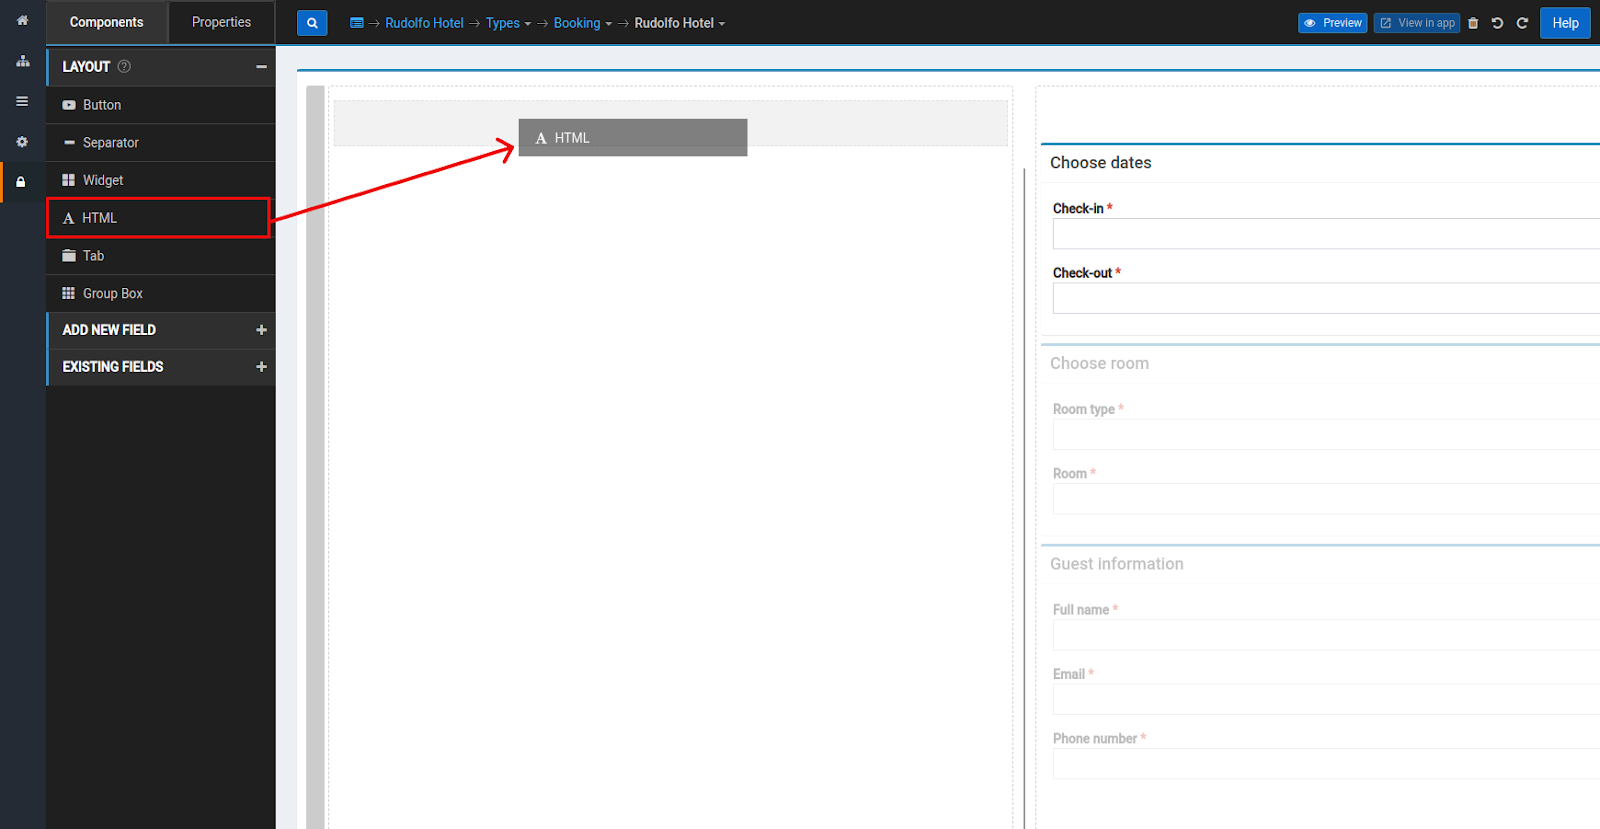
From Components → LAYOUT drag in HTML under the Guest information group box.
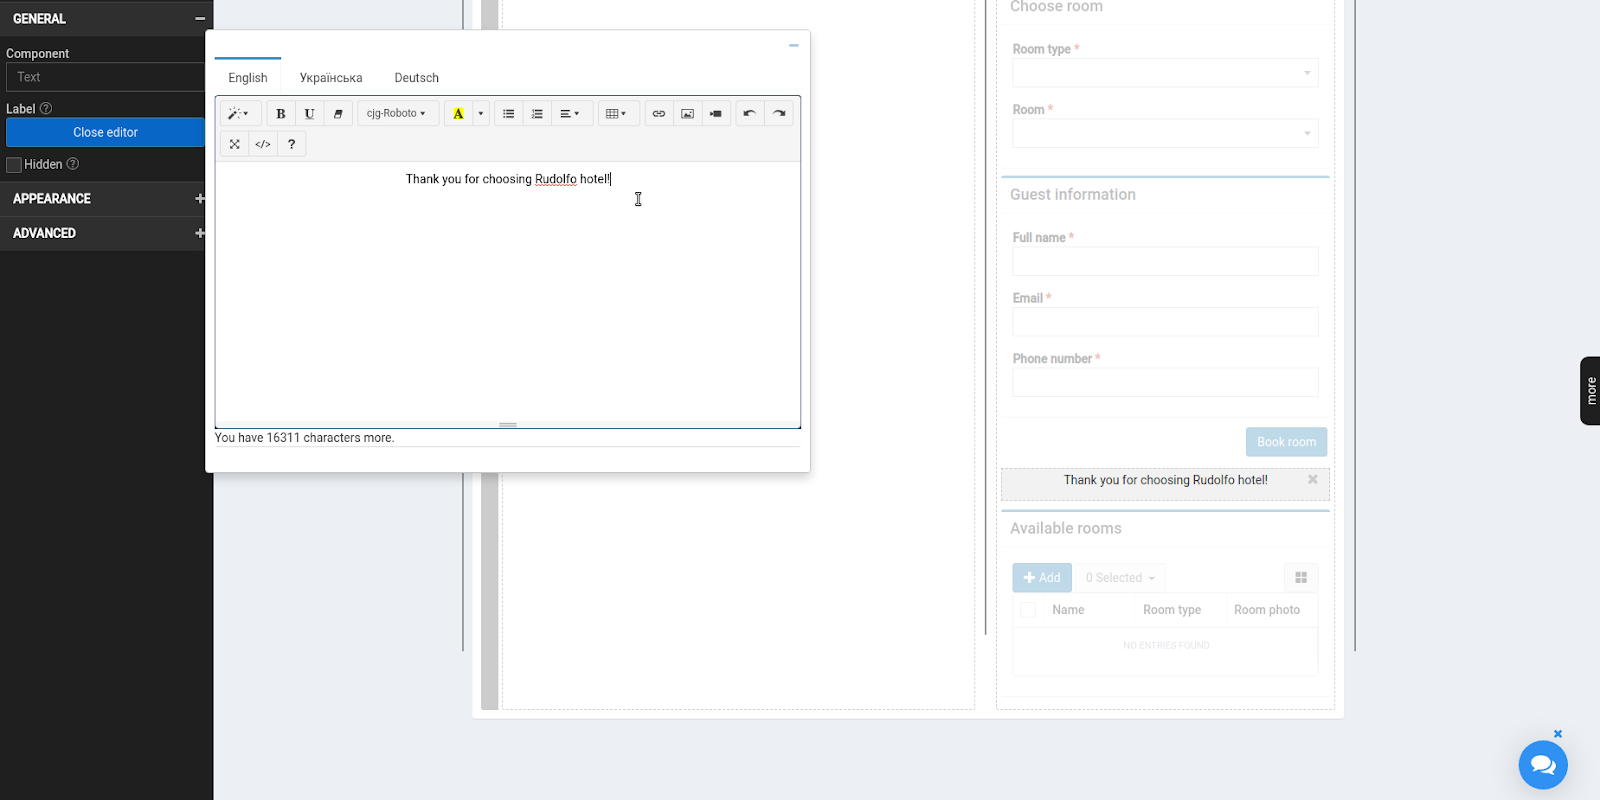
Inside the editor write the text “Thank you for choosing Rudolfo hotel!”.
For now, hide this message.
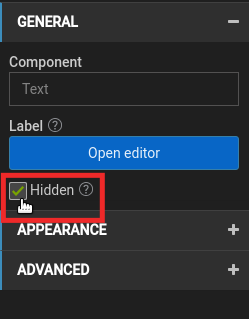
Assign Id booking_saved_message to this element.

PROCESS BOOKING
Click on the Book room button. Create a new After server action. It is a client event.

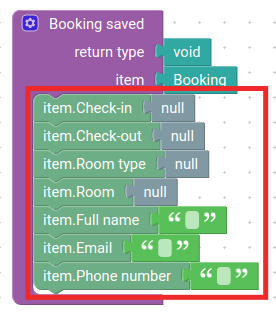
Name it Booking saved.
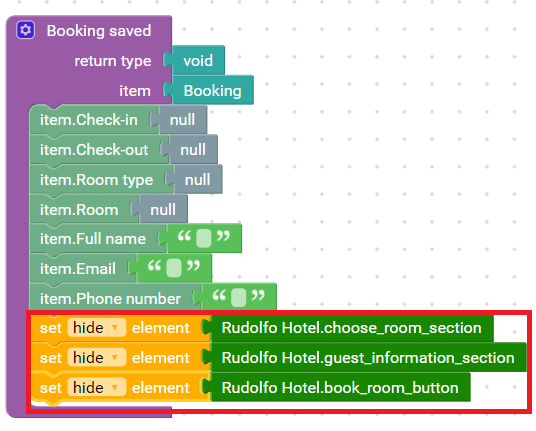
Reset all the fields of the Booking page to initial values.
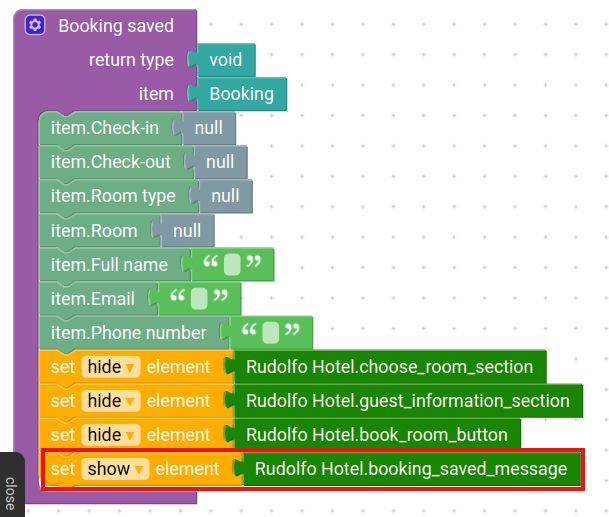
Hide Choose room and Guest information sections and Book room button.
Show Booking saved message.
HIDE MESSAGE
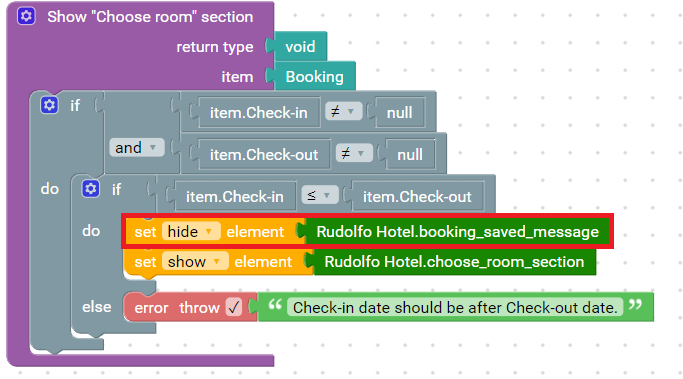
We need to hide the Booking saved message if a customer wanted to book another room.
Open Show “Choose room” section custom action of Booking data type.
Hide Booking saved message on a successful check of filling dates.
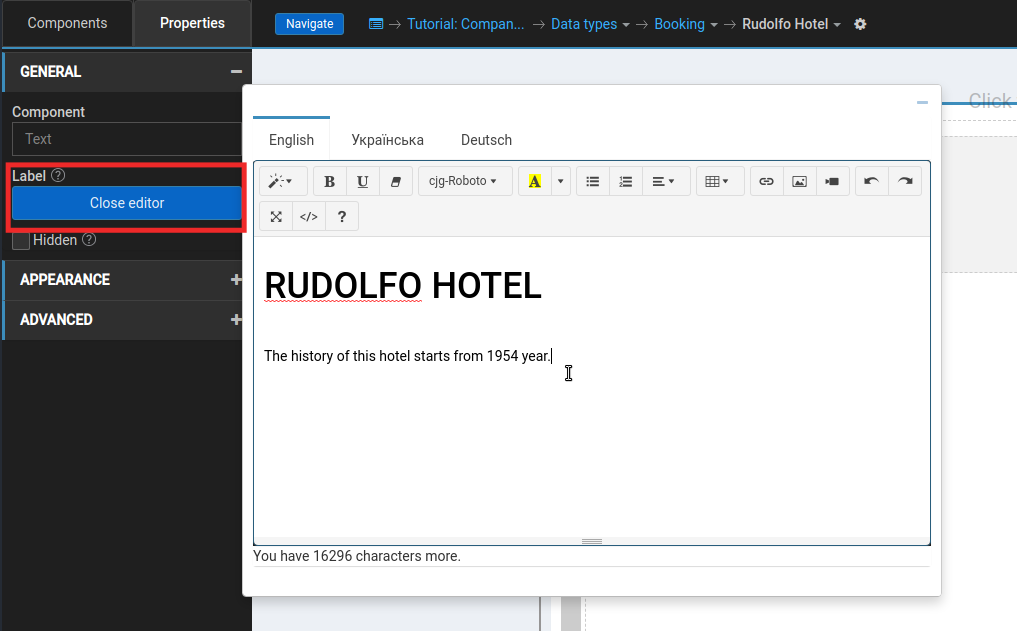
ADD HOTEL INFORMATION
Add a HTML into the left column of the visible group box.
In the editor, write the name of the hotel. Apply the Heading format to it. Write a description of the hotel.
UPLOAD STATIC IMAGE
From the Project menu go to Custom resources.

Click on the Upload resources button.
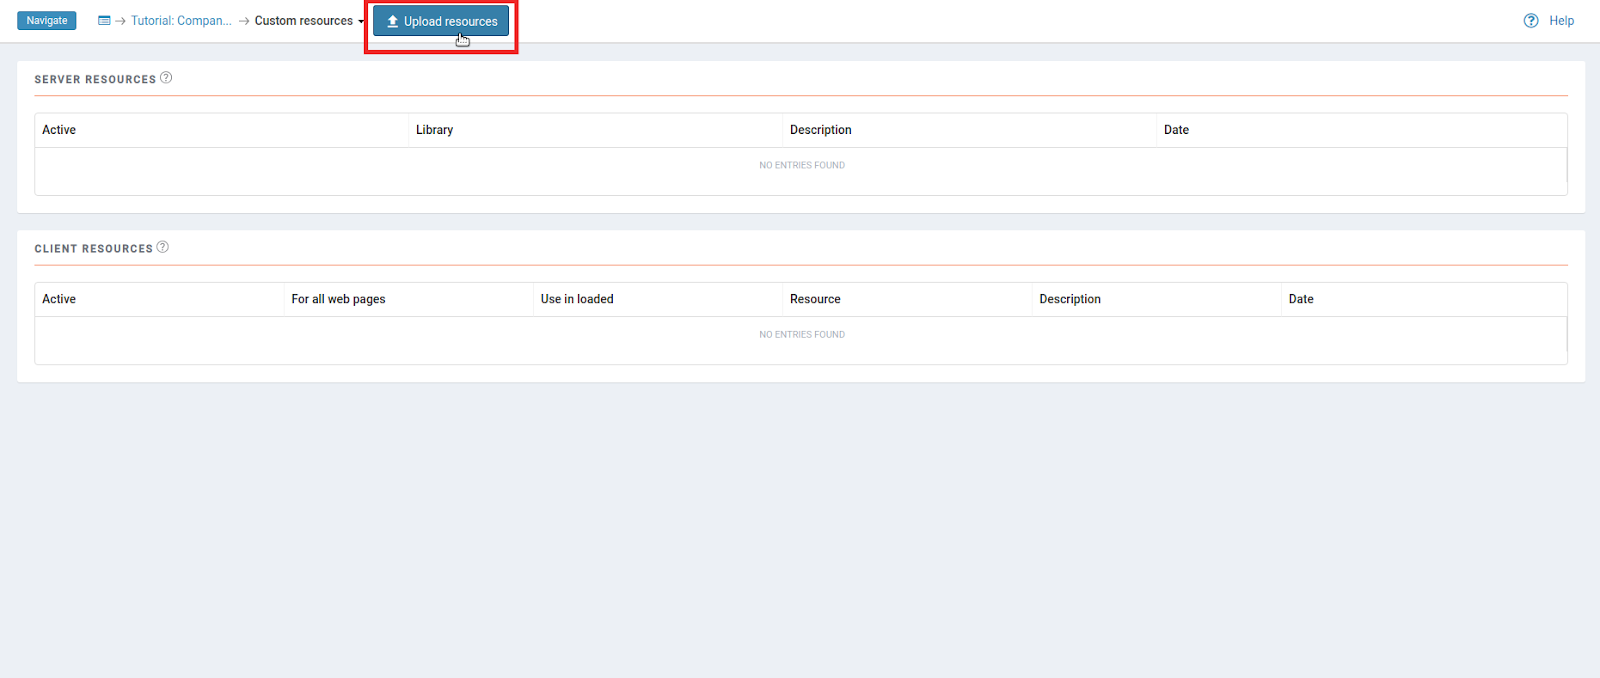
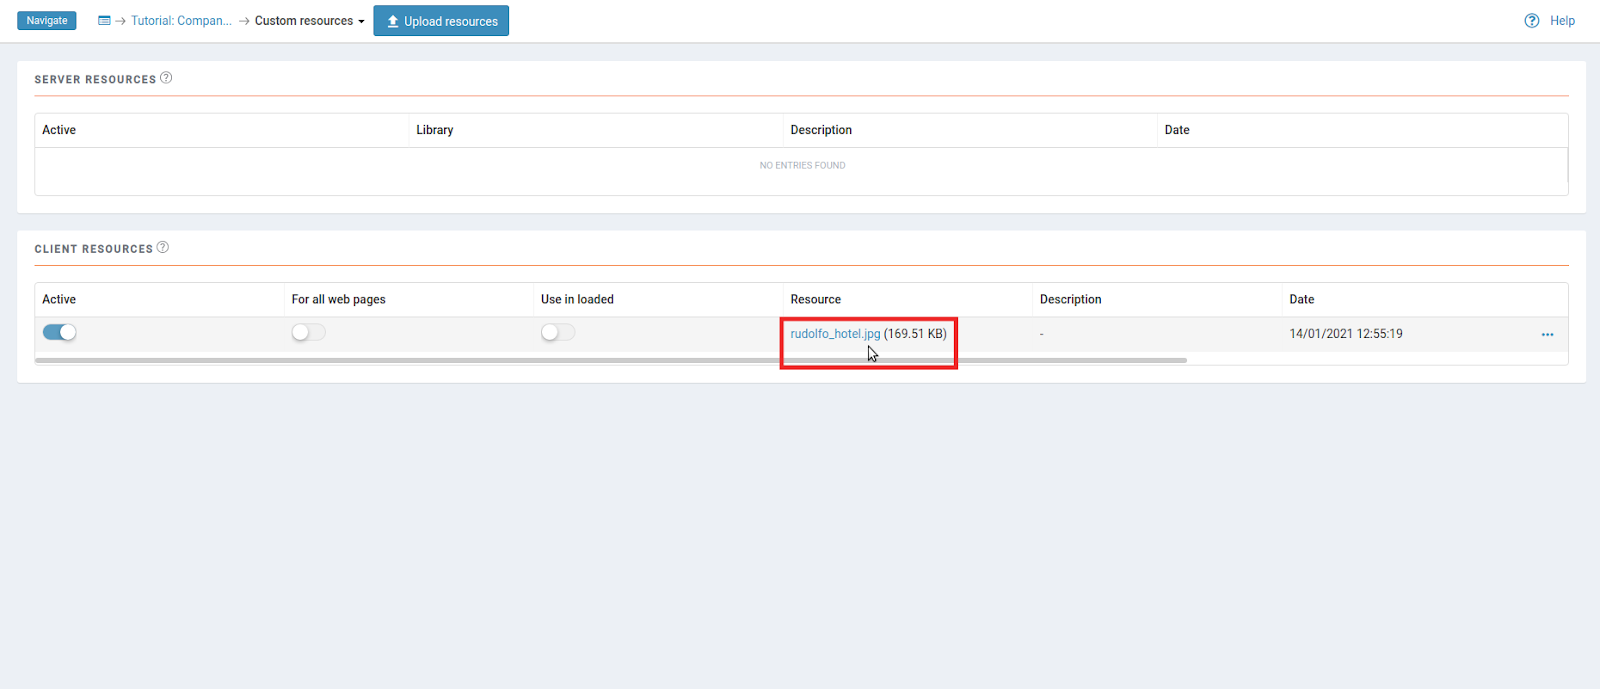
Browse and upload a picture. In the CLIENT RESOURCES table you can see that picture is uploaded.
PASTE IMAGE INTO HTML EDITOR
Open the HTML editor
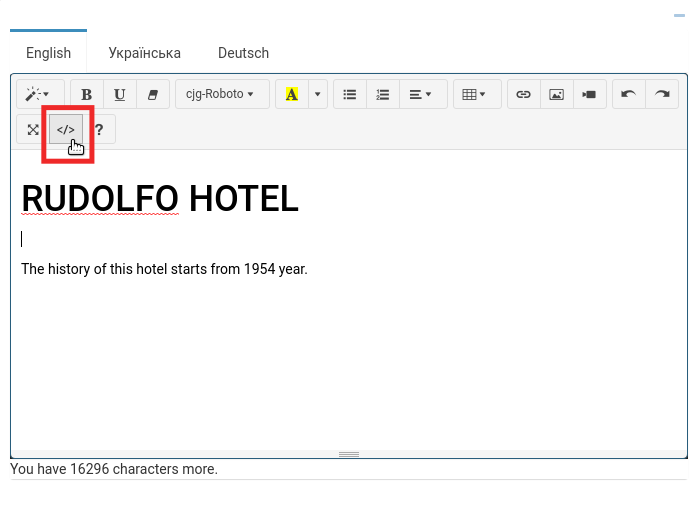
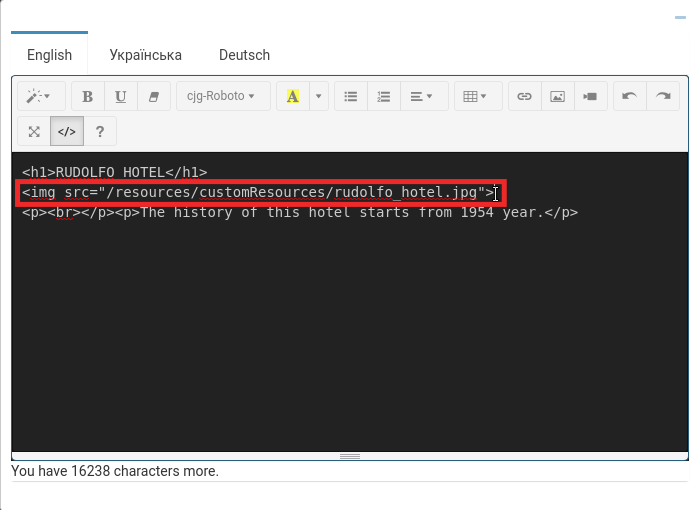
Paste html tag <img> below the header h1. <img> tag allows you to load a picture from custom resources. Insert name of your image instead of rudolfo_hotel.jpg.
<img src="/resources/
customResources/rudolfo_hotel.jpg">
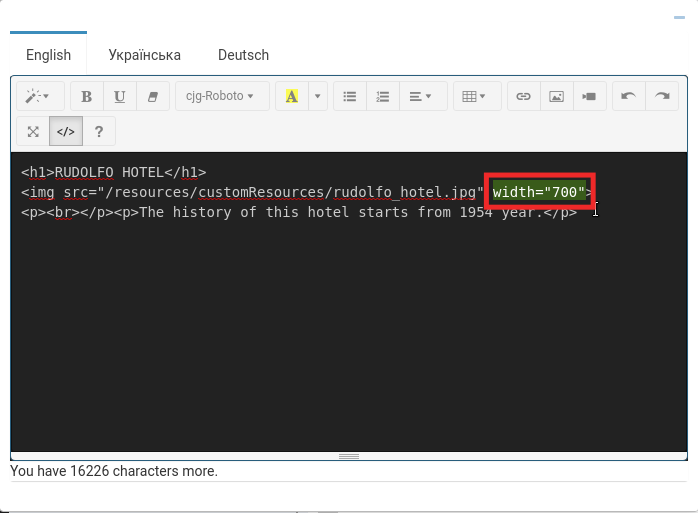
You can add some attributes inside the img tag, for example, width or size.
SELECT LANGUAGE OF THE APPLICATION
For the next step, we will need links to the application for supported languages.
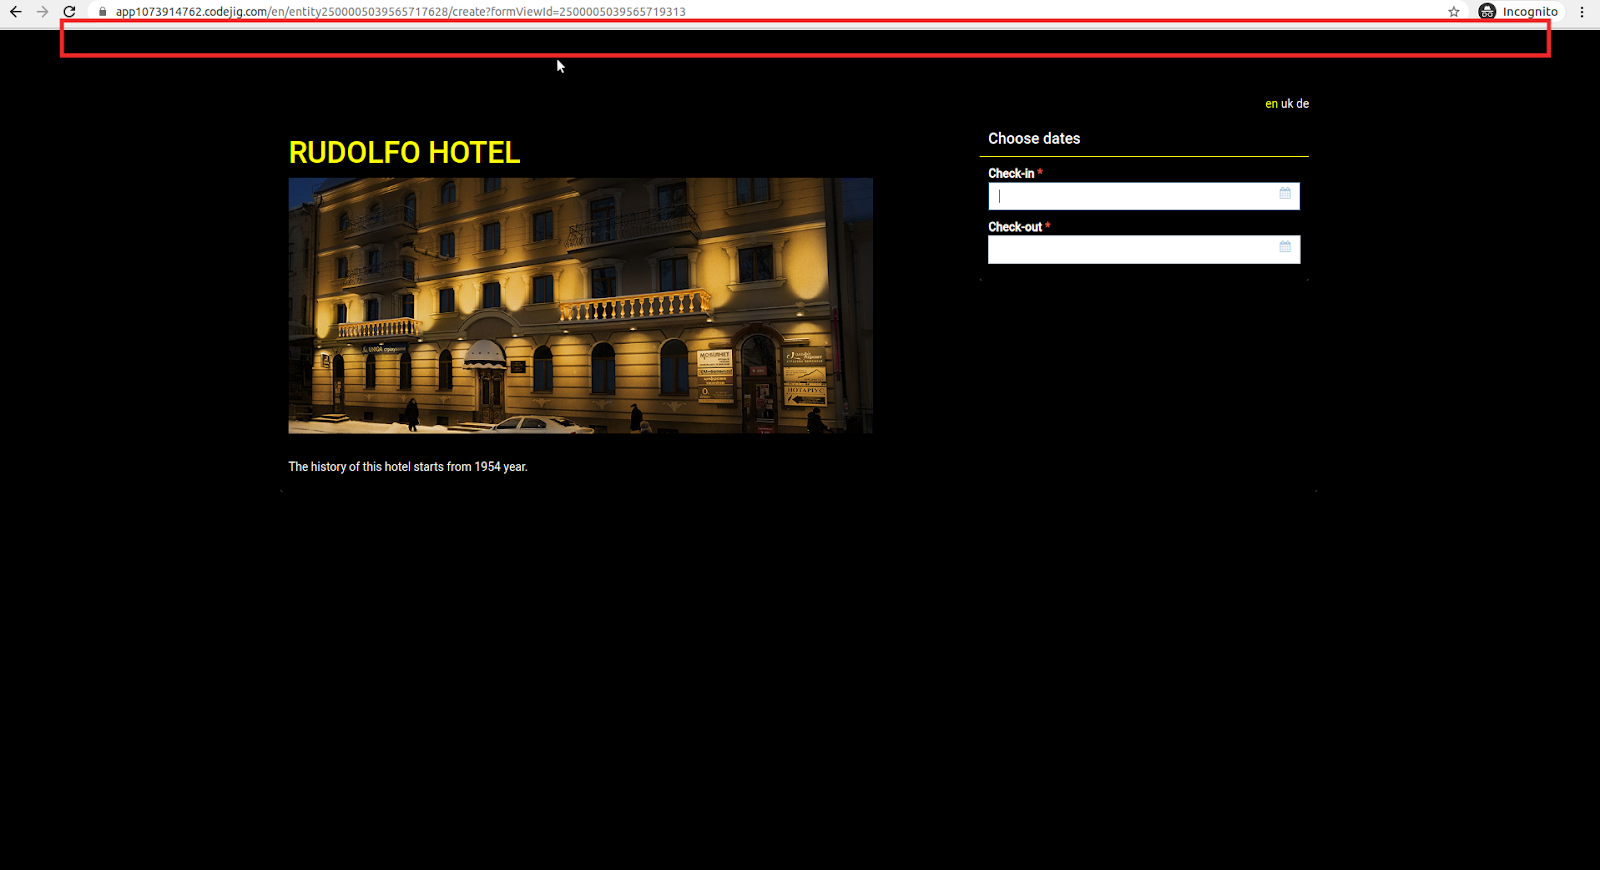
Publish and open the application.
Once an application is launched (English language by default), you can notice an en entry in the URL.
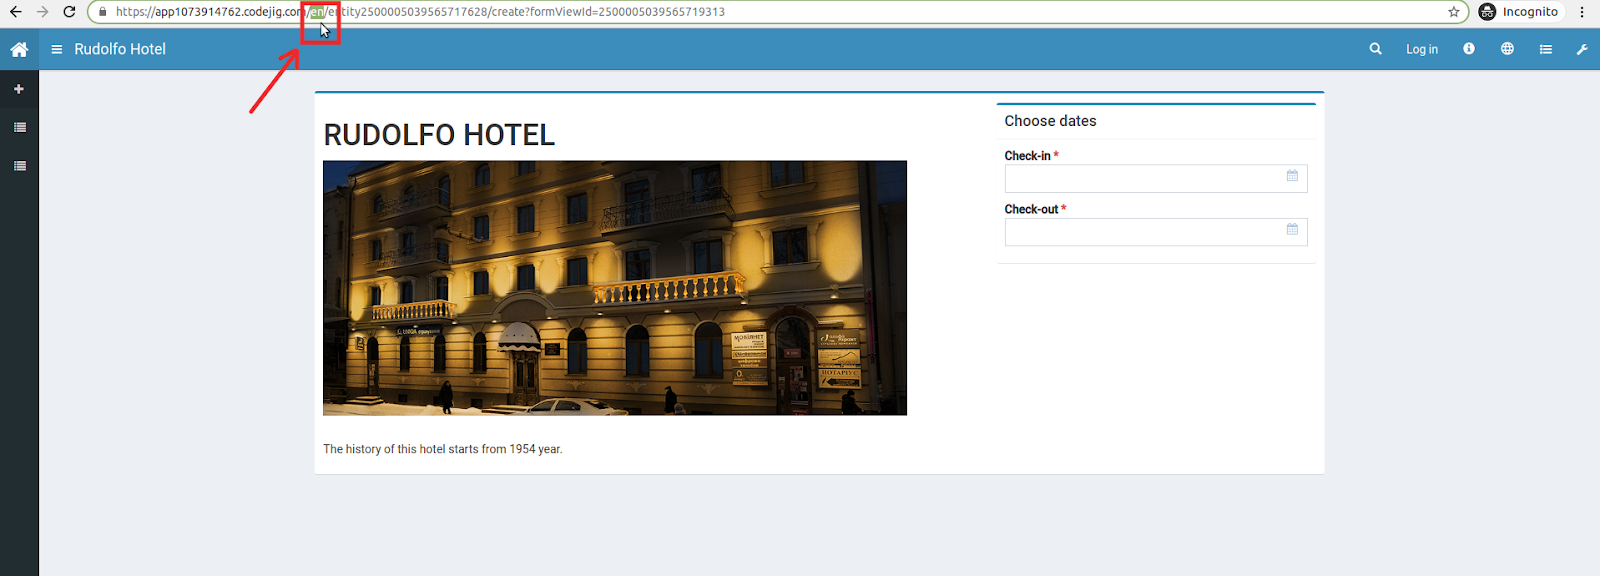
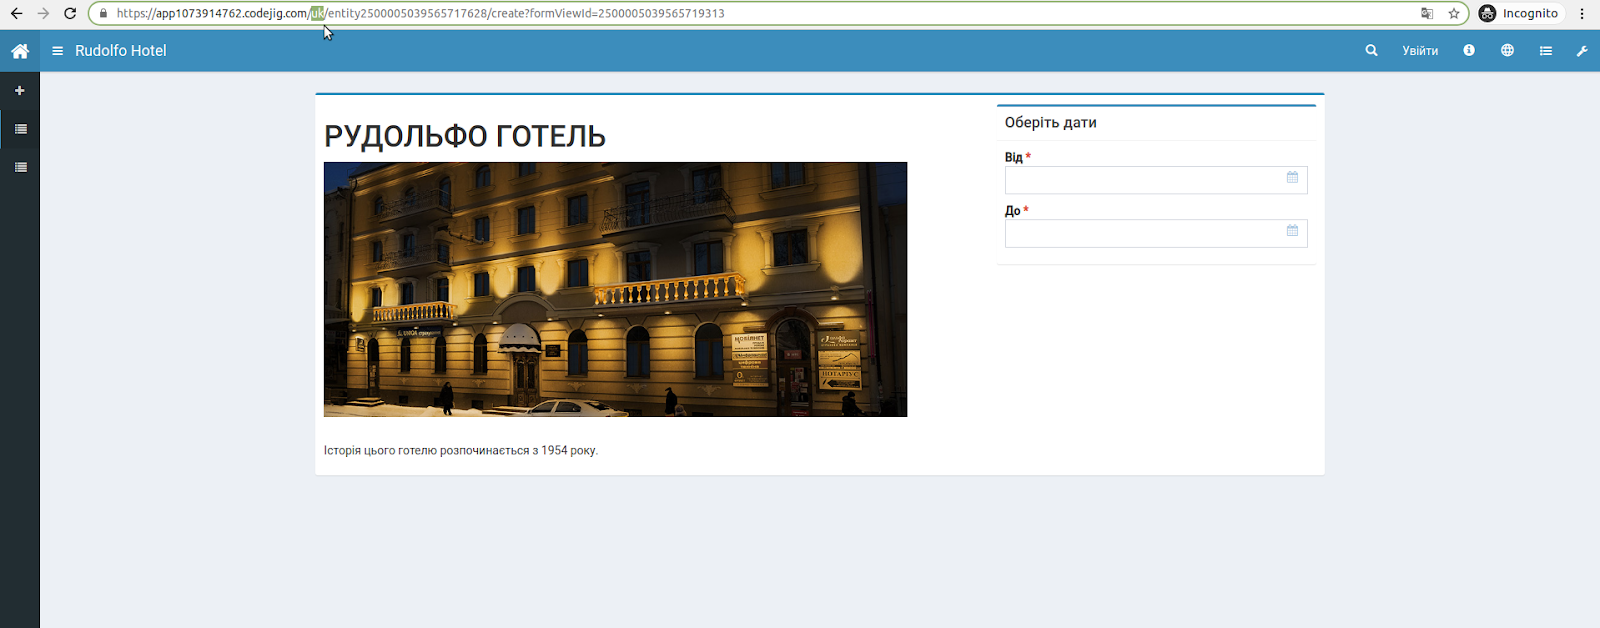
To get an URL for other languages, simply change the language of the application by clicking on the earth icon on the right of the header.

Now you can copy-paste a link for this specific page of the chosen language.
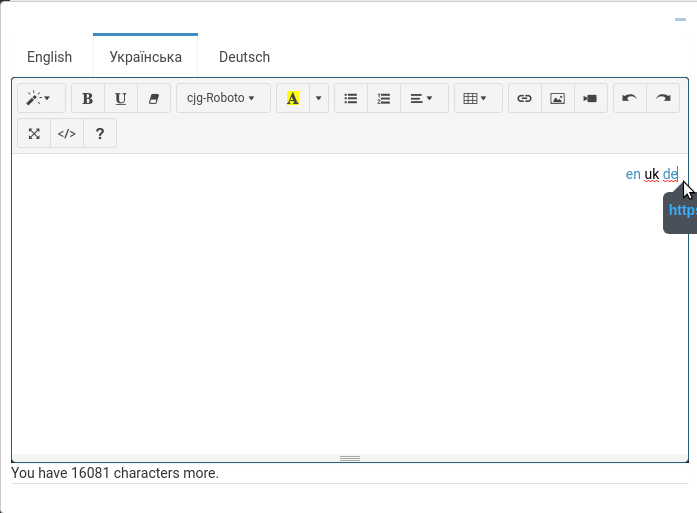
ADD LANGUAGE TOGGLE
Add a new row on the top of the visible group box. Drag in a Static text.
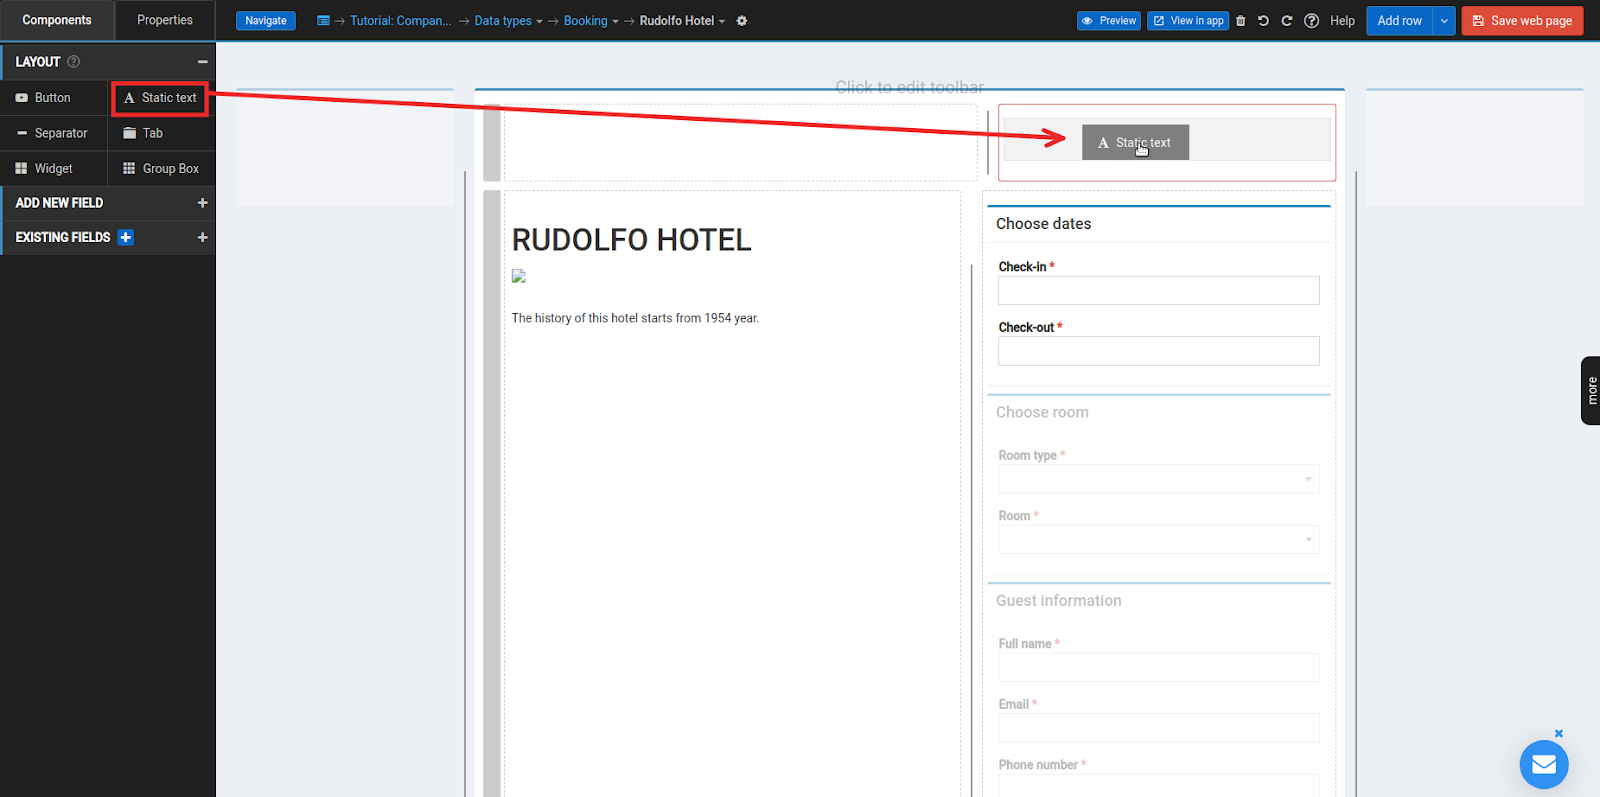
Align text to the right.
Start writing en (for the English language).
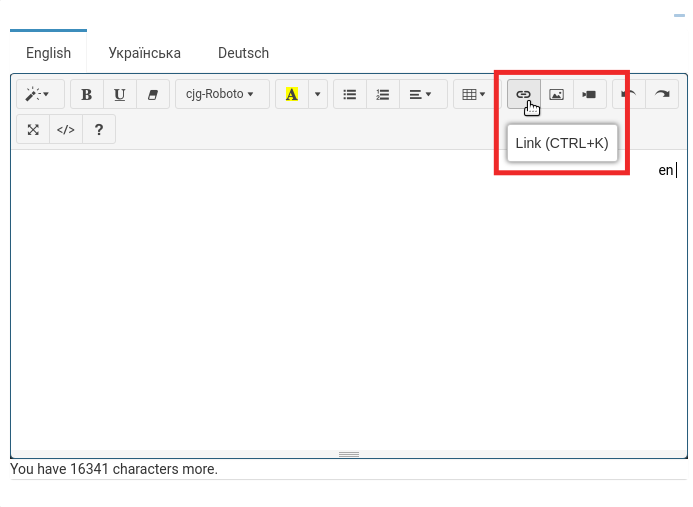
After this place a link for the Ukrainian language with a text uk.
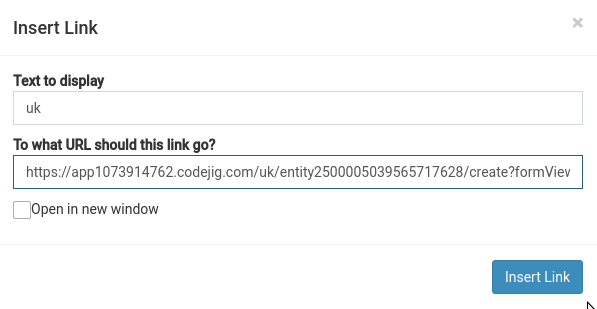
Untick the box Open in new window.
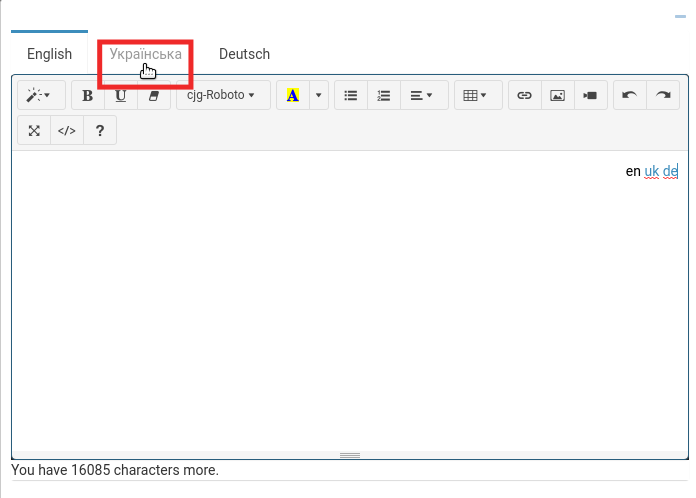
Add a link for German with de, too.
Toggle to another language and add the links respectively, skipping a link of the chosen language.
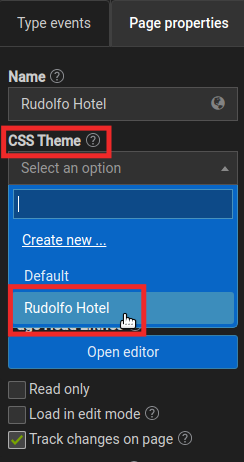
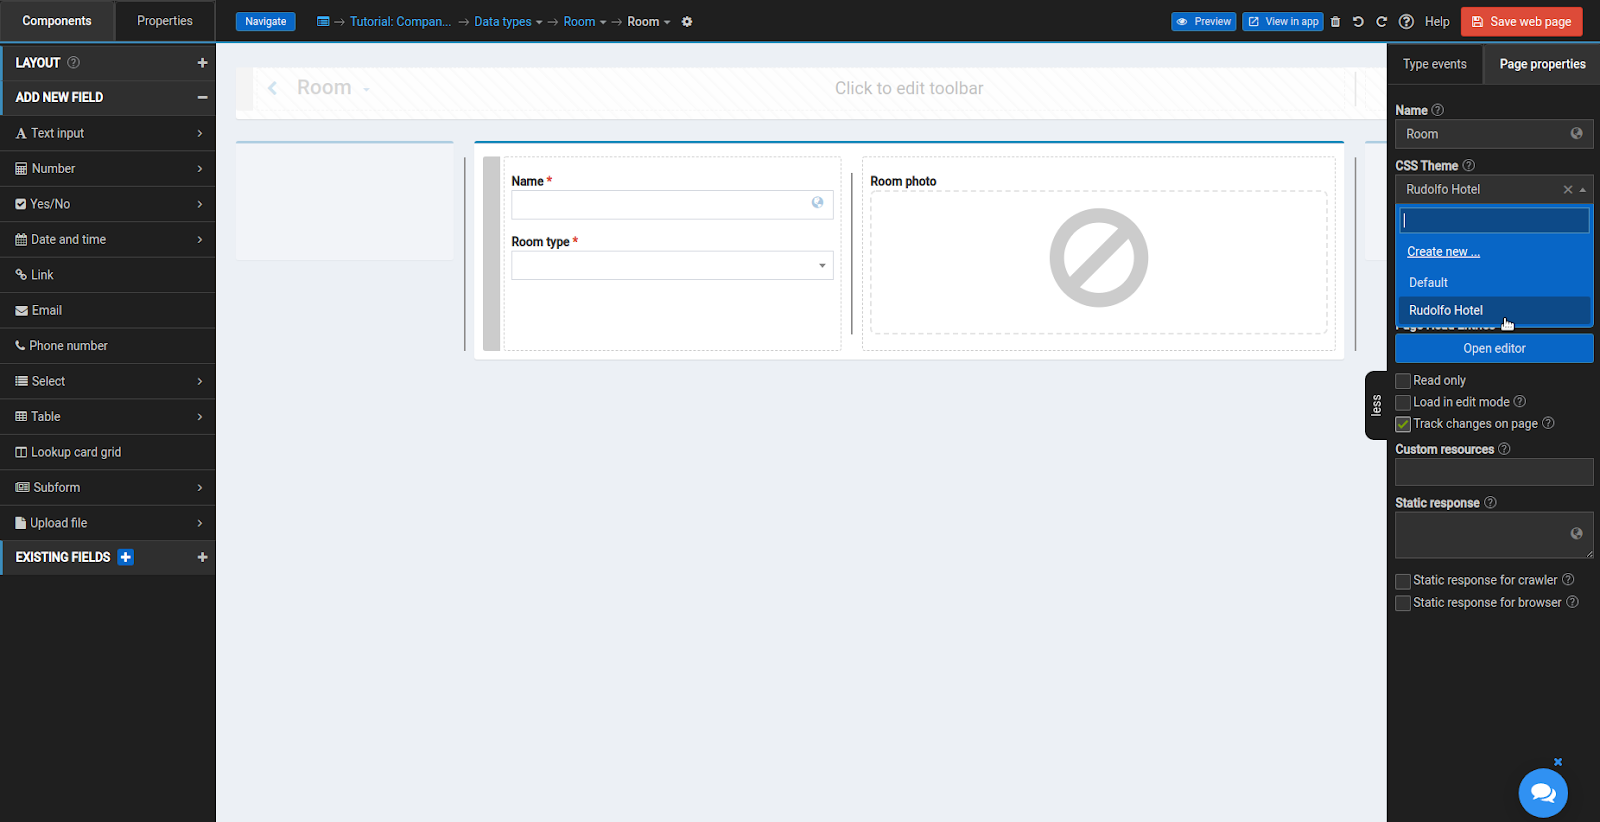
CREATE A CSS THEME
In Page Properties → CSS Theme select Create new …
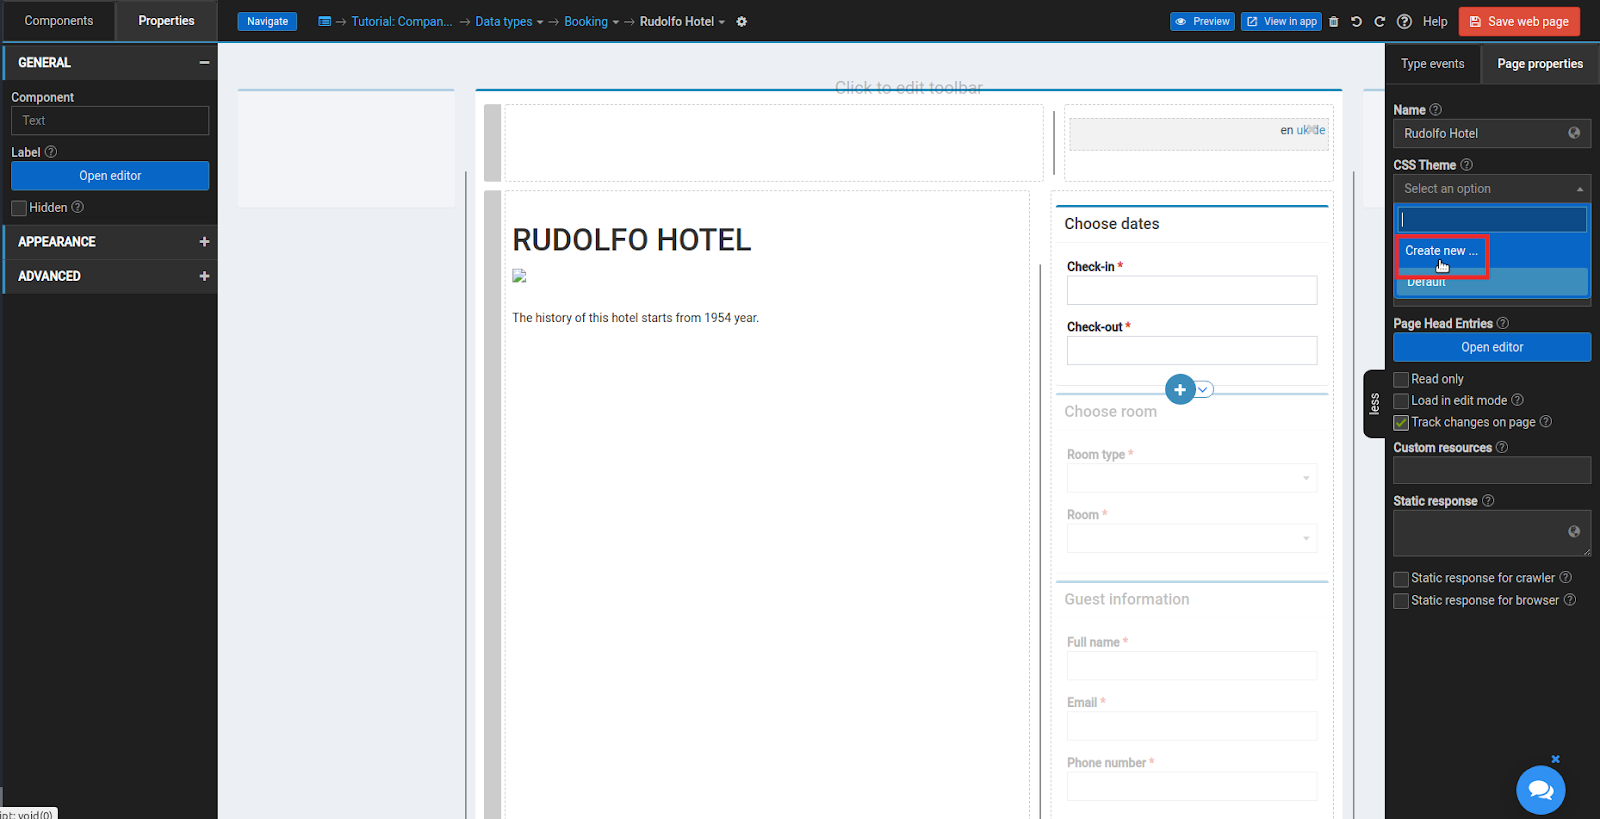
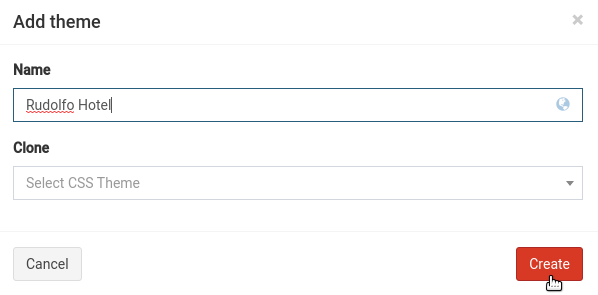
Name it Rudolfo hotel.
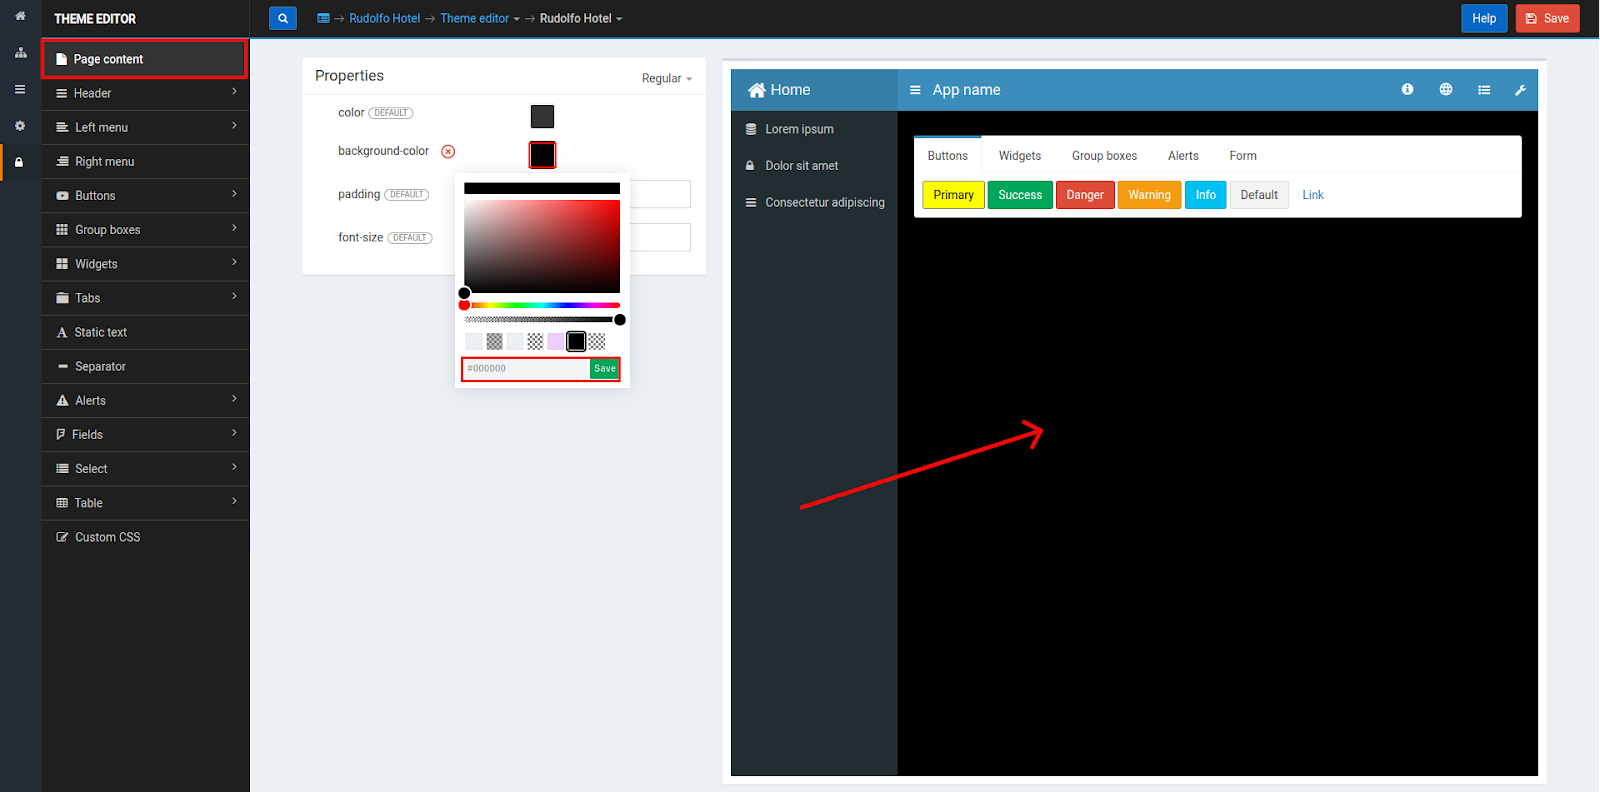
PAGE STYLE
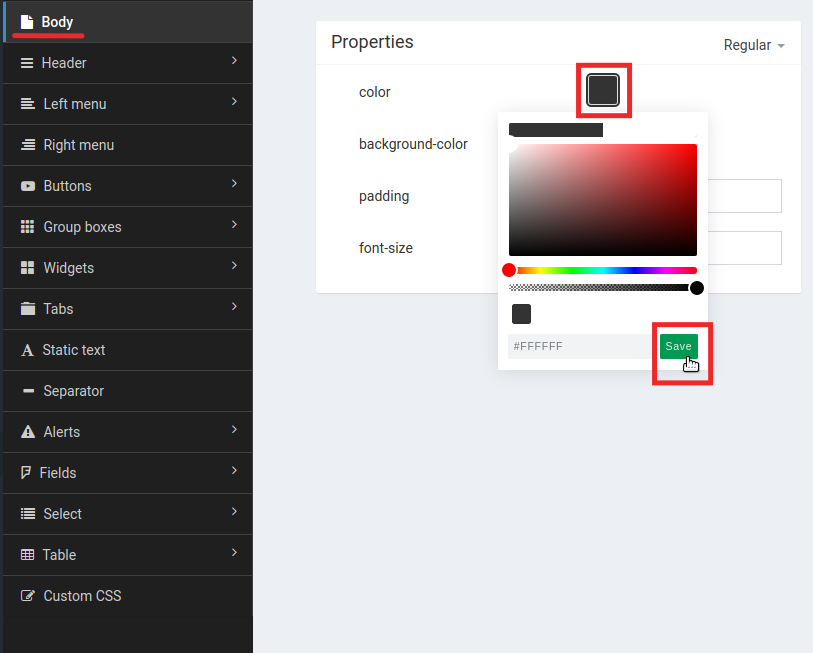
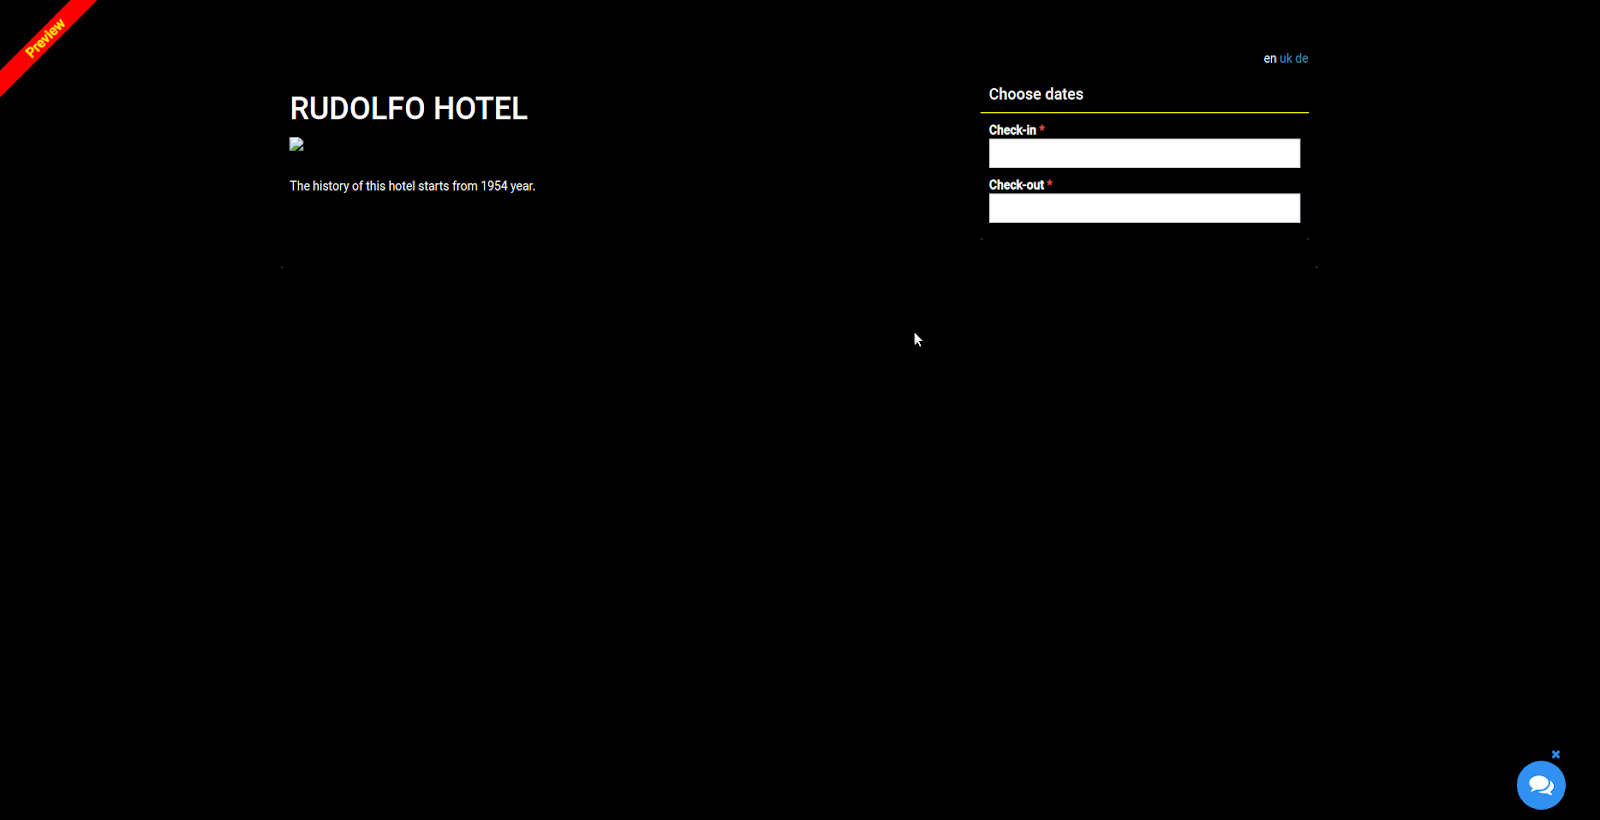
In the PAGE CONTENT tab choose black (#000000) as a page background-color.
You can directly see an example of the page with chosen properties on the right.
Choose white (#FFFFFF) as a font color for the page.
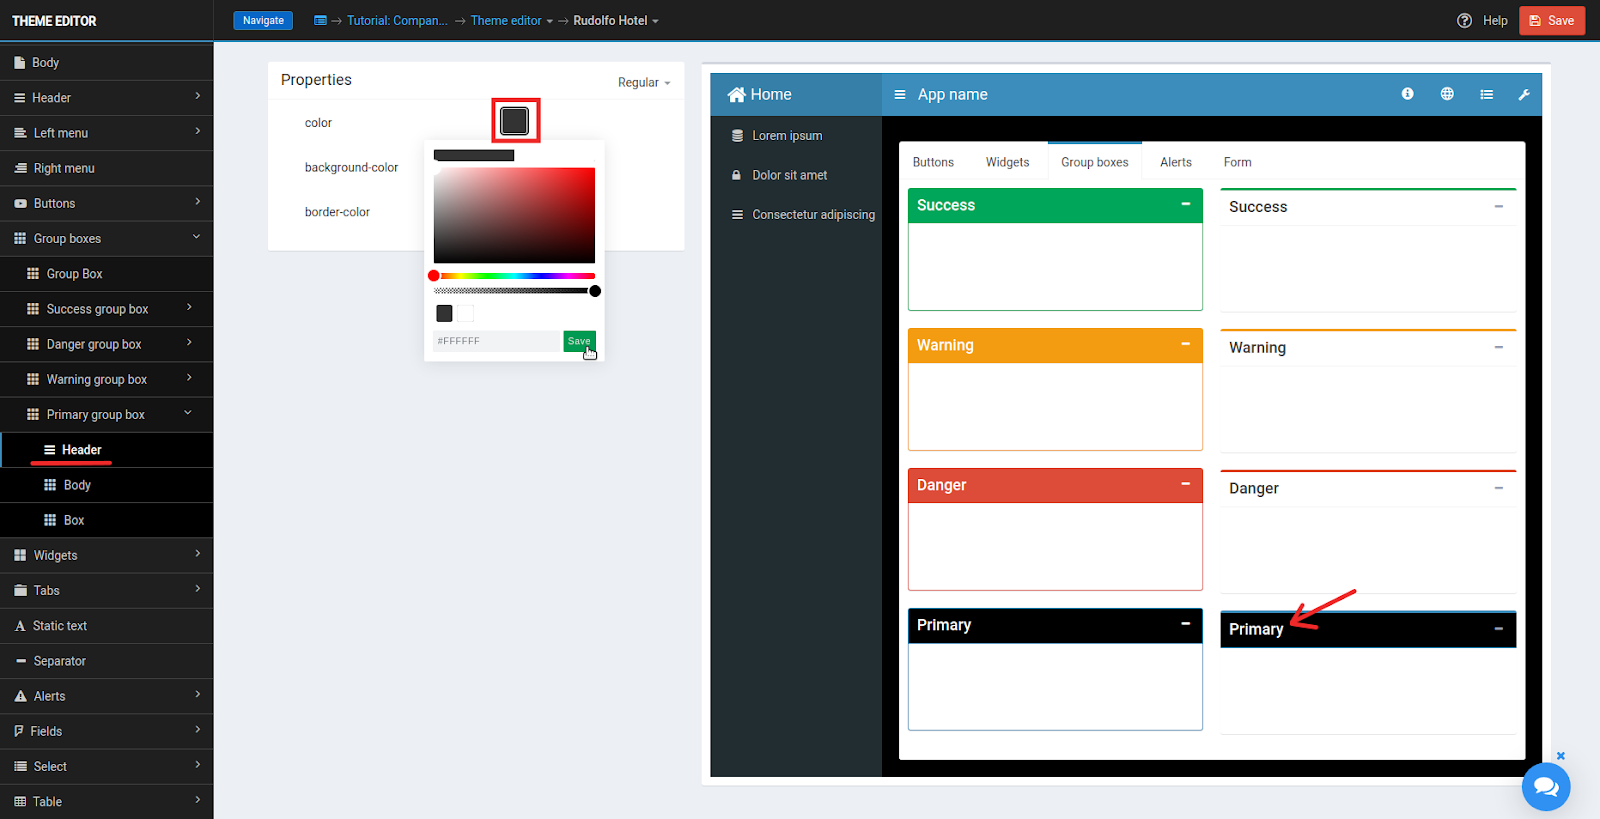
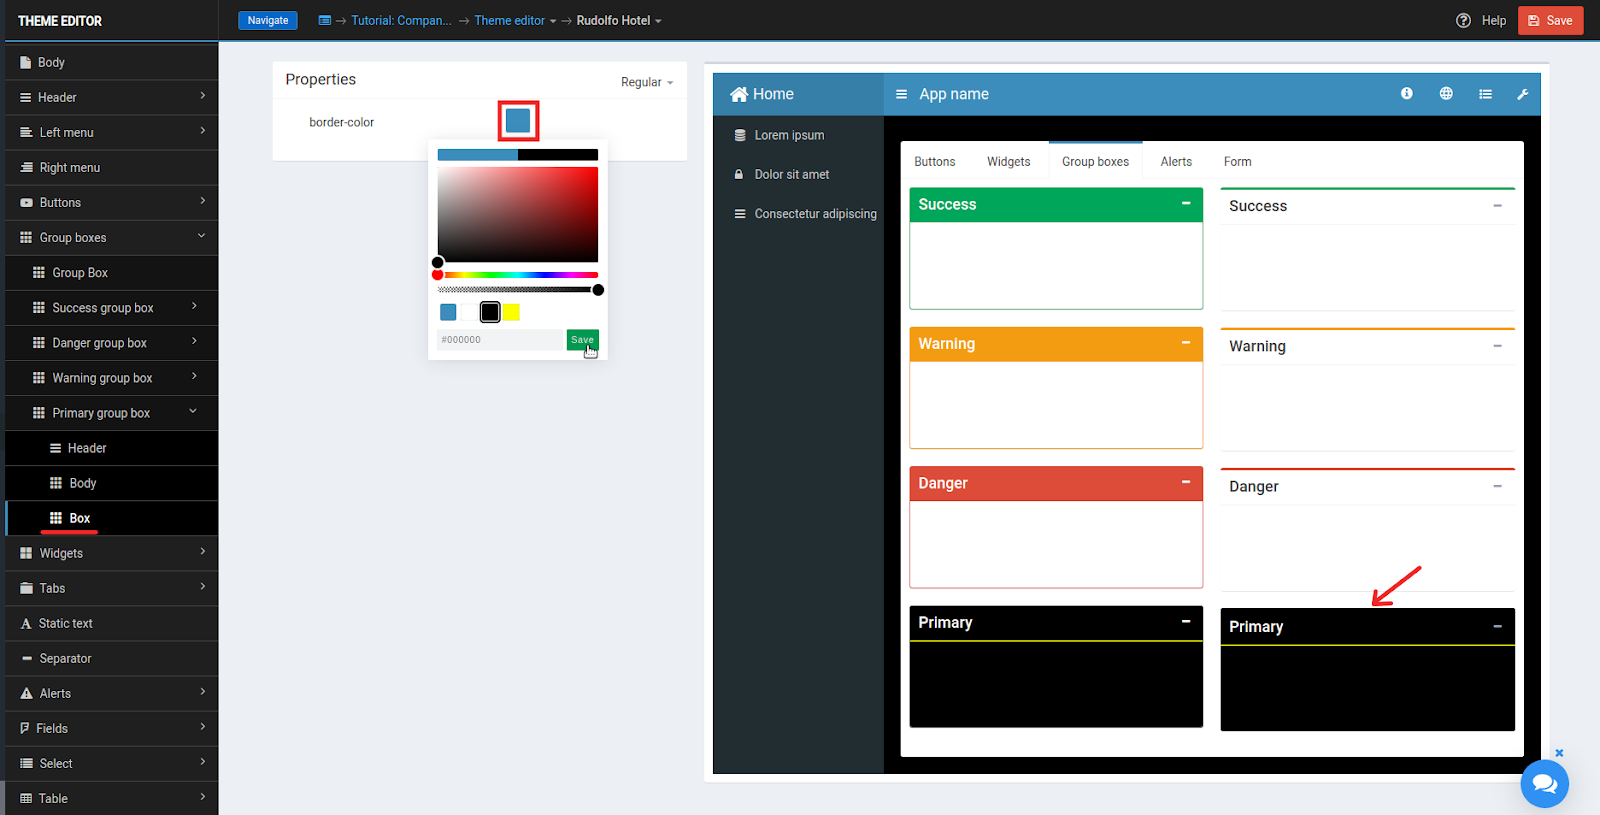
GROUP BOX STYLE
In Group boxes → Primary group box → Header choose black (#000000) as the background-color.

Choose white (#FFFFFF) as font color.
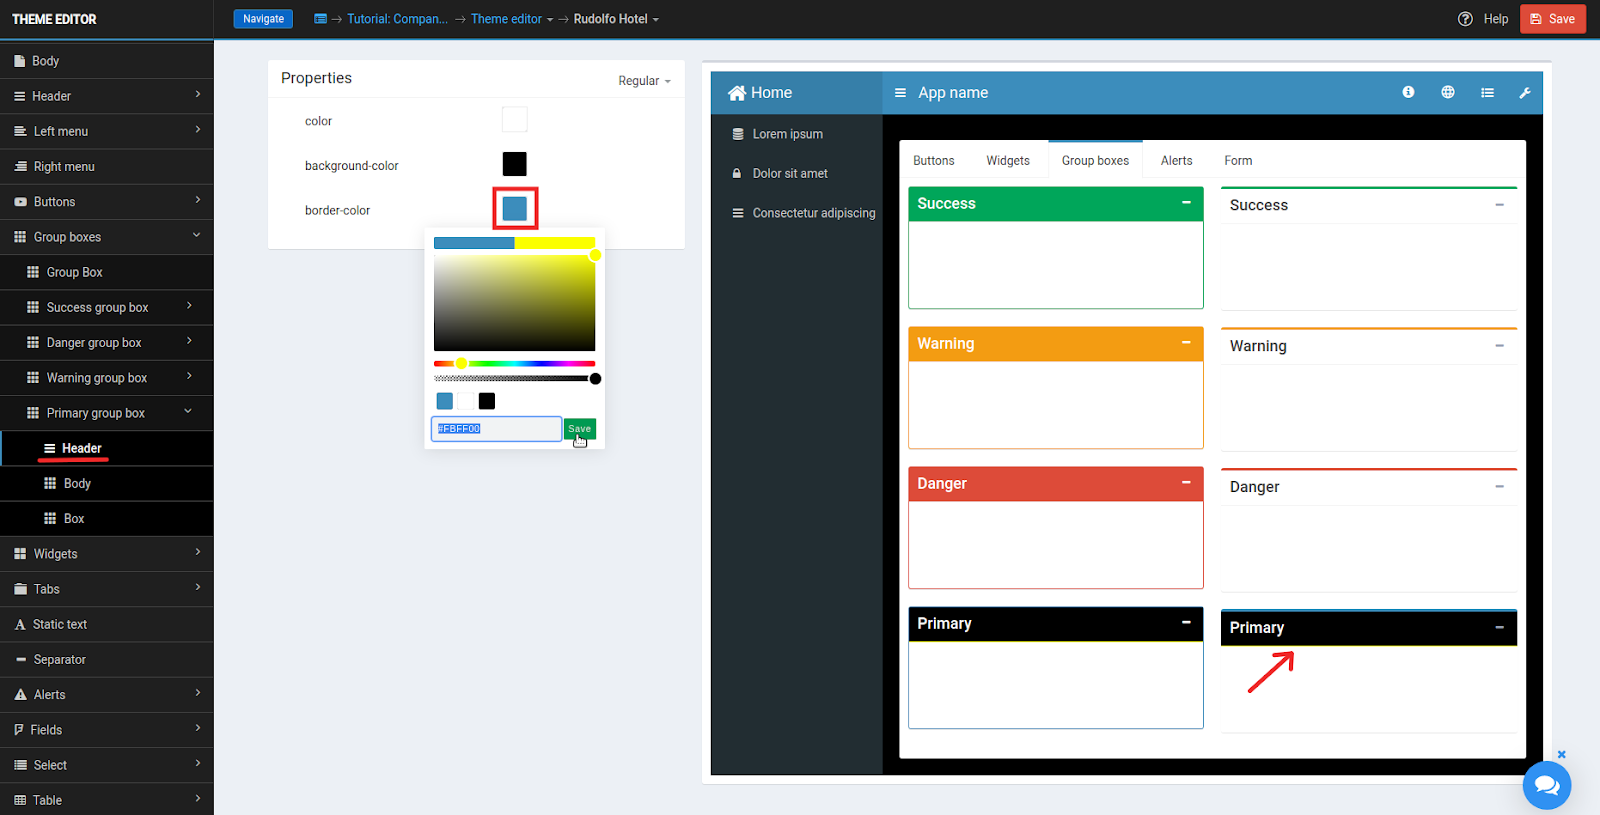
Choose yellow (#FBFF00) as font border-color.
In Group boxes → Primary group box → Body choose black (#000000) as background-color.
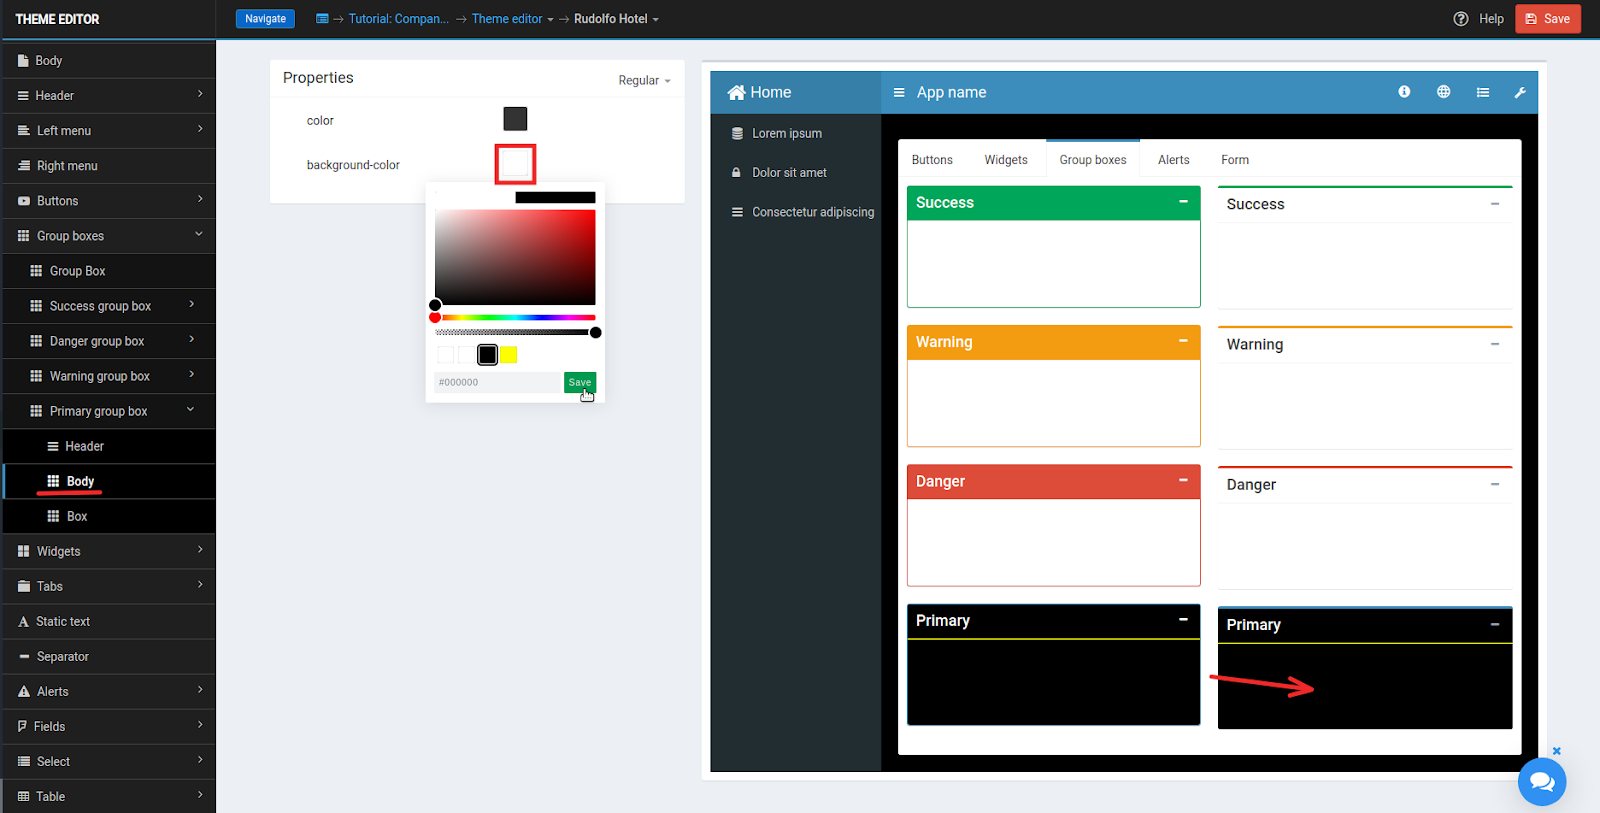
Choose white (#FFFFFF) as font color.

In Group boxes → Primary group box → Body choose black (#000000) as border-color.
BUTTON STYLE
In Buttons → Primary button choose yellow (#FBFF00) as background-color.
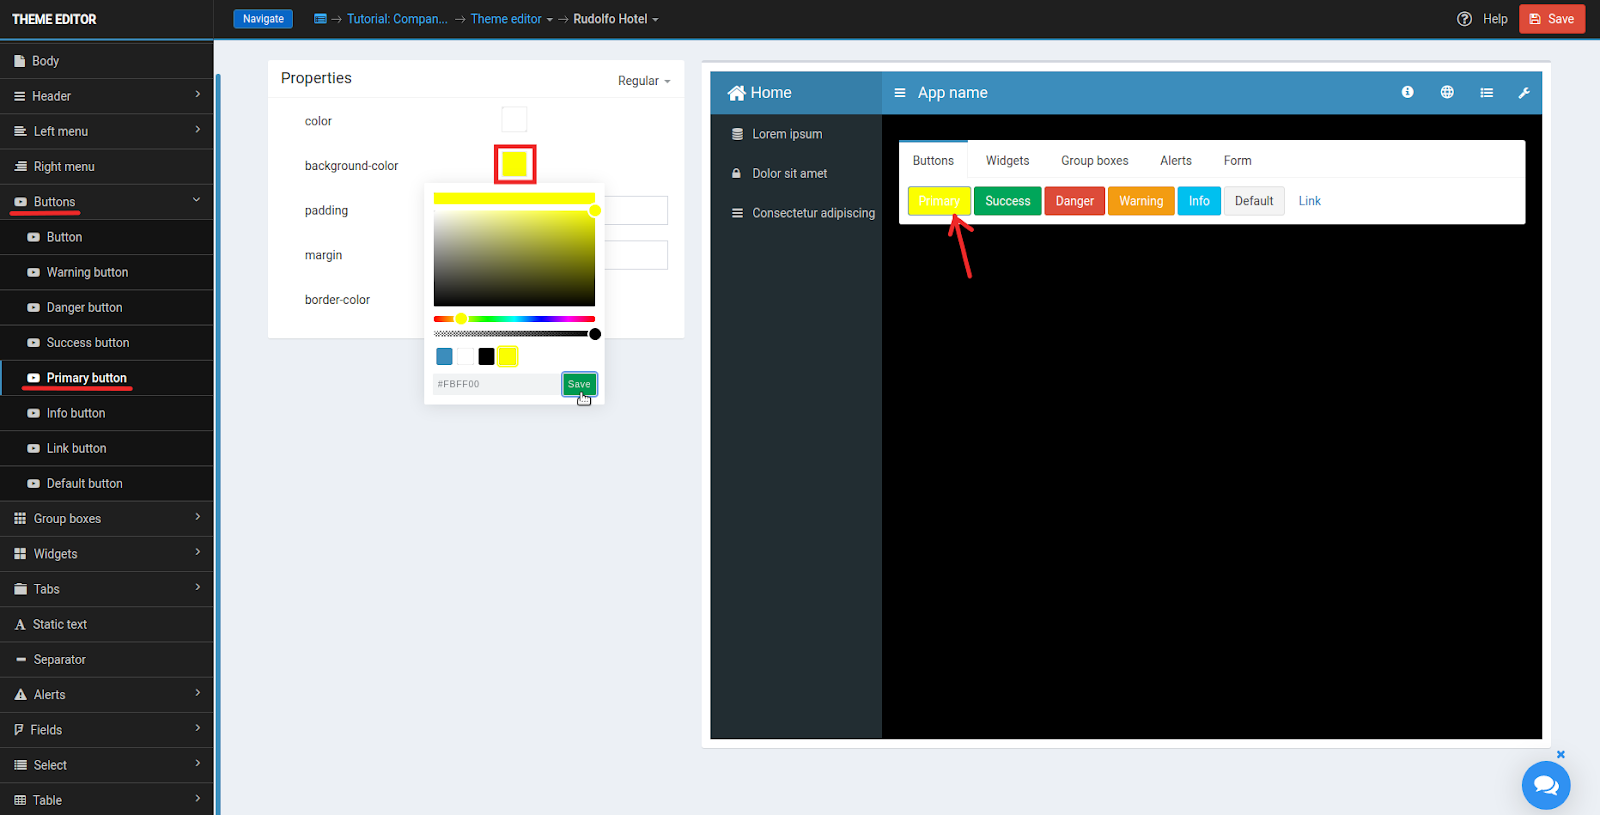
Choose black (#000000) as the font color.
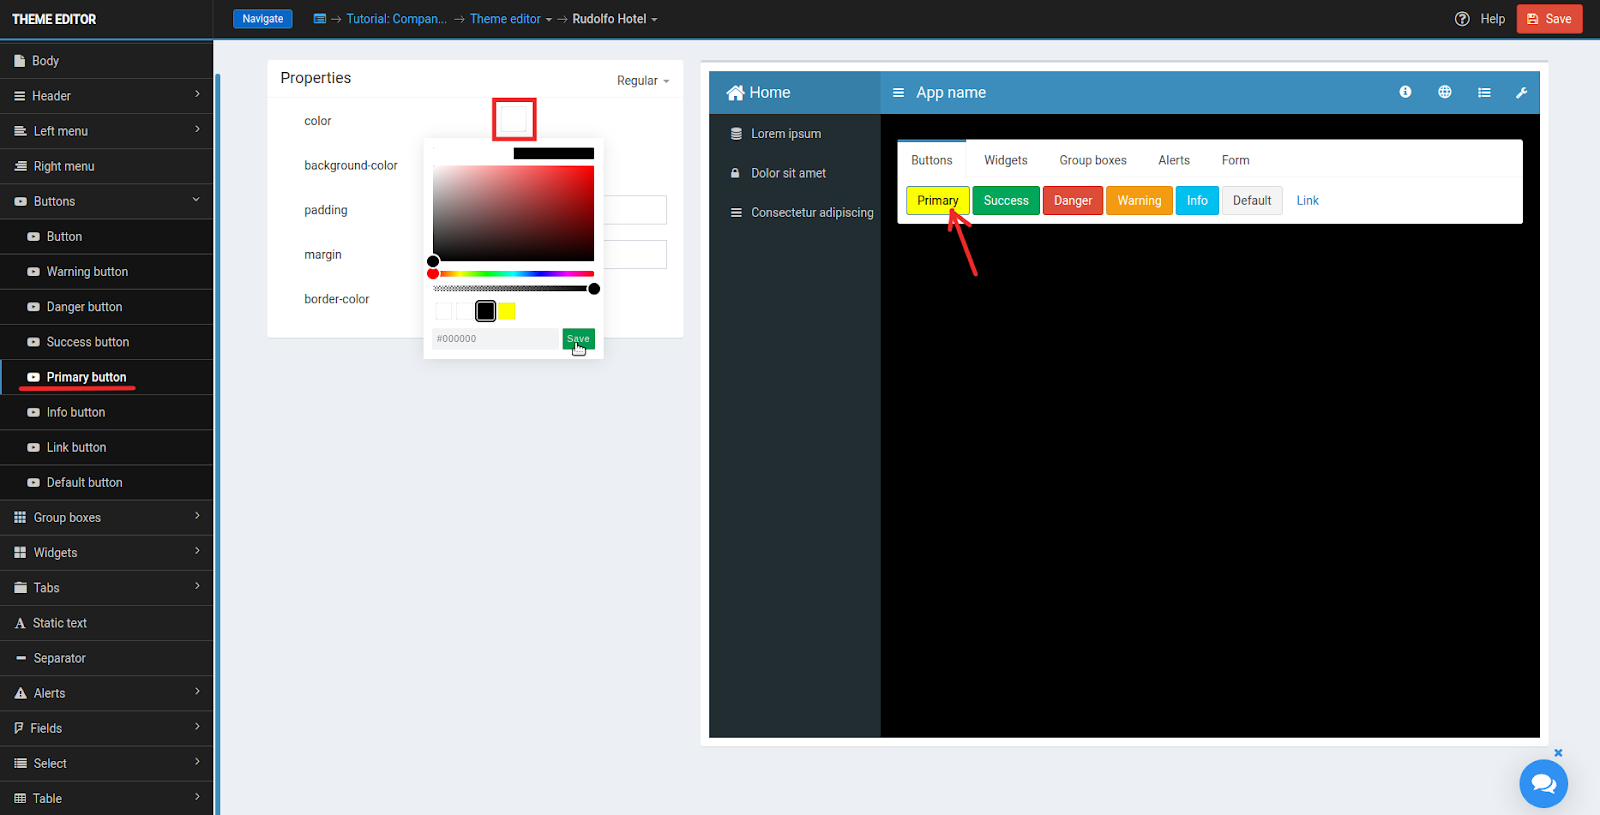
Choose grey (#777777) as the font color.

UPDATE RUDOLFO HOTEL PAGE
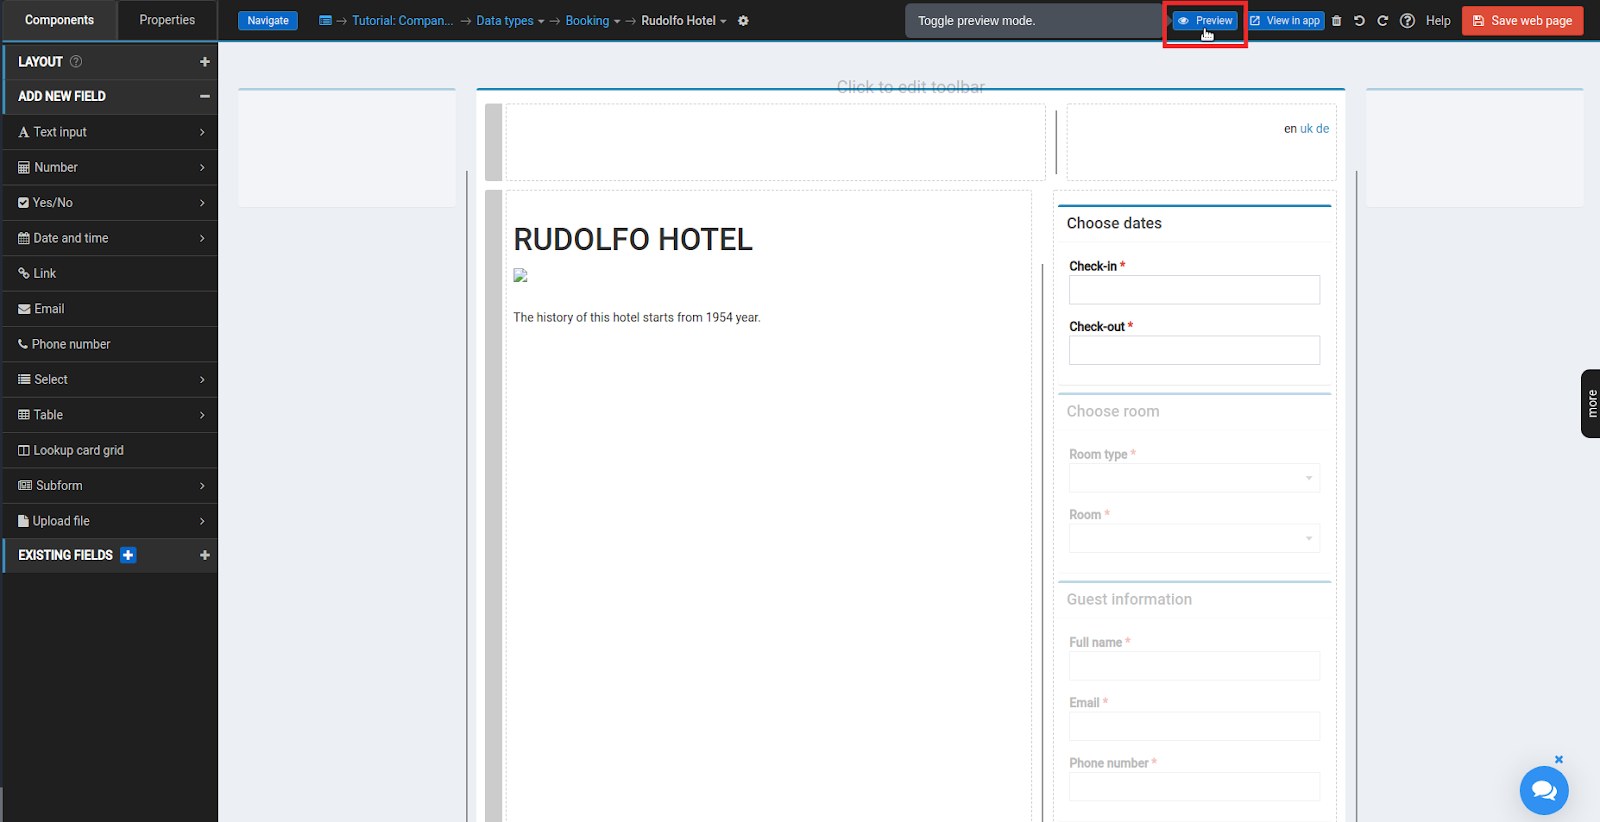
For Rudolfo Hotel web view in Page properties → CSS Theme choose the created Rudolfo Hotel theme.
Check a new theme of the page by viewing it in preview mode. Click on the Preview button on the right of the header.
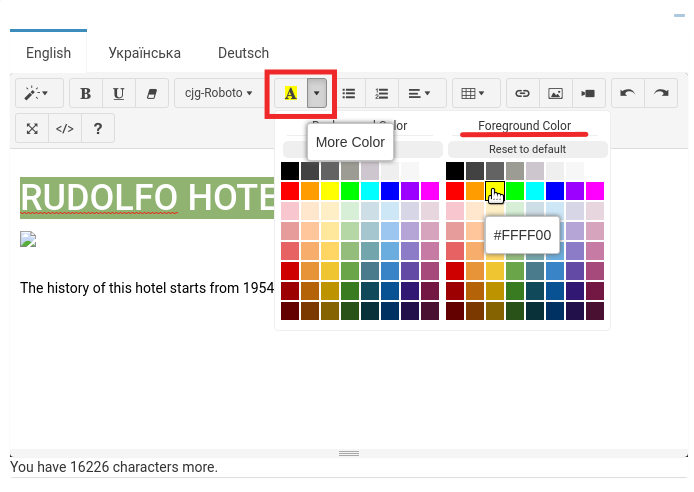
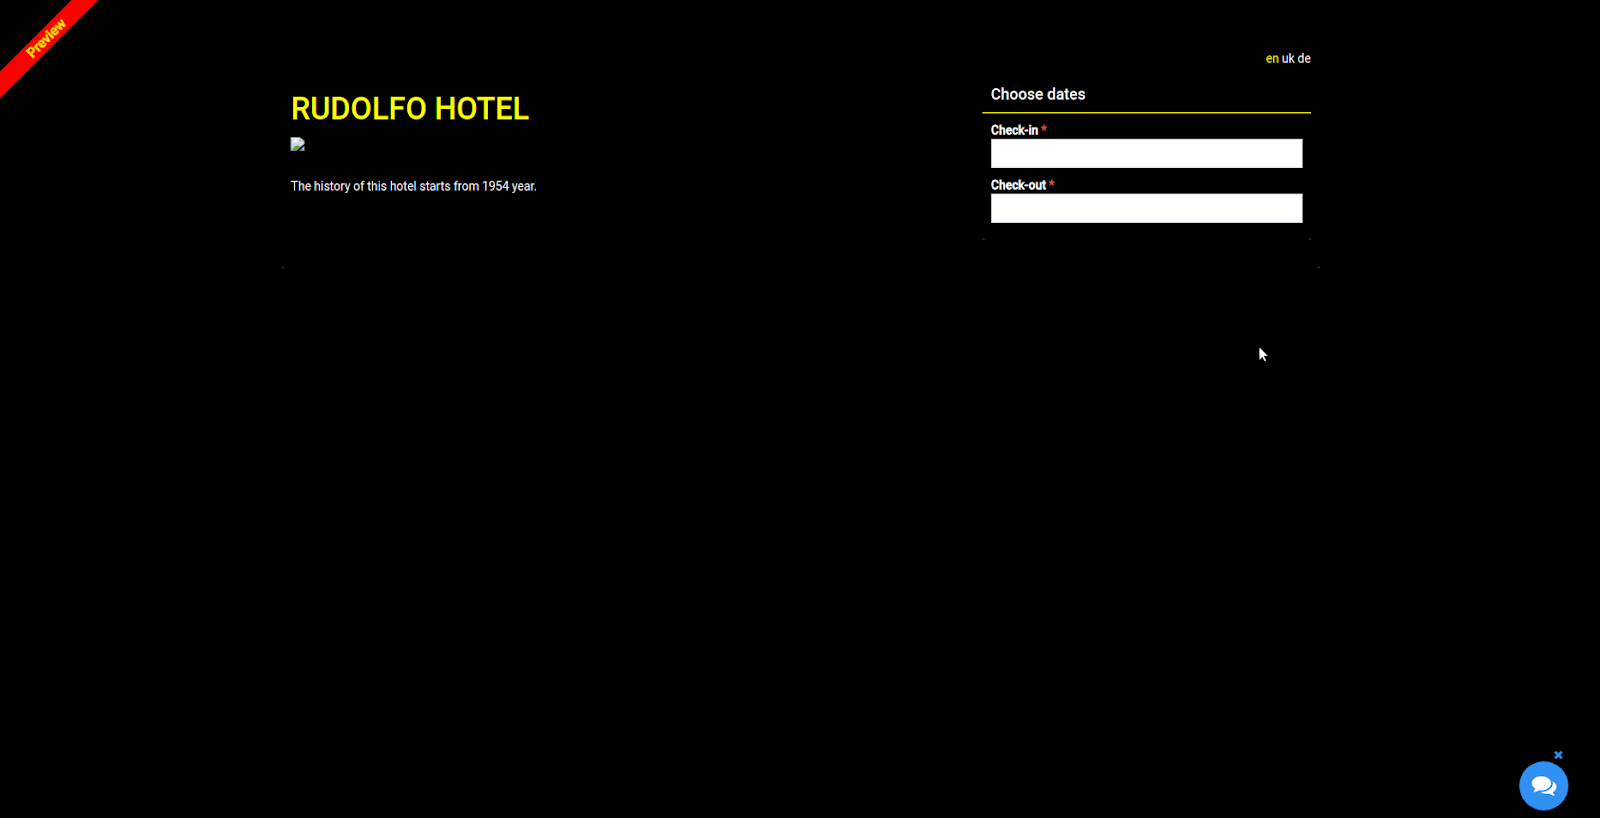
Apply yellow (#FBFF00) color to the heading with the hotel name and selected language on language toggle.
HIDE HEADER OF THE APPLICATION
In Page Properties untick the box Show header.

In the published application you can see that for the Rudolfo Hotel page the header and default menu of the application aren’t shown.
That’s why a toggle for supported languages was created directly on the page.
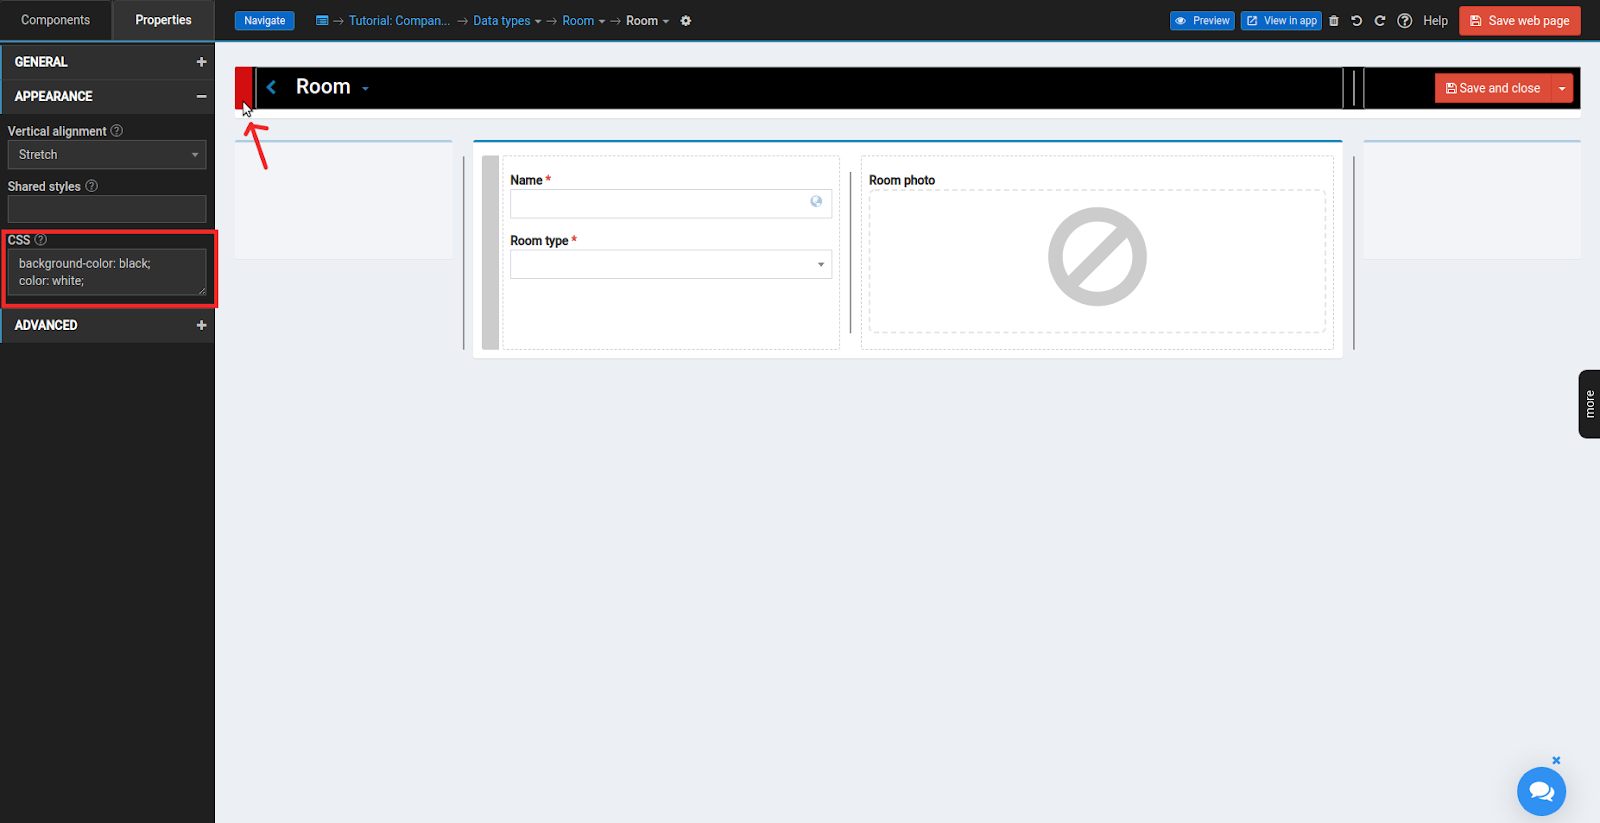
UPDATE ROOM PAGE
Since guests can navigate to the Room page to check it out (once the room is chosen, a link icon appears on the right of the Room field), we should apply a theme of the main page to the Room page as well.
In Page properties → CSS Theme choose Rudolfo Hotel theme.
Click on the row of the top toolbar. In Properties → APPEARANCE → CSS add background-color: black; color: white;
MANAGE PERMISSIONS
Manage permissions in such a way so that EVERYONE would be able to open a Rudolfo Hotel web view for writing and a Room web page for reading. Everything else should be only visible to hotel administrators.
To learn more about working with permissions take a look in other tutorials.
CREATE ADMIN MENU
Create a menu for the administrators of the application.
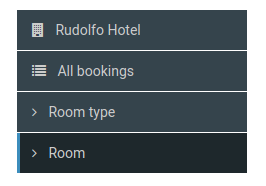
For tabs:
- Rudolfo Hotel
- Data type: Booking
- Action: CREATE_NEW
- View: Rudolfo Hotel
- All Bookings
- Data type: All Bookings
- Action: CREATE_NEW
- View: - (will be used default one)
- Room types
- Data type: Room type
- Action: INDEX
- Rooms
- Data type: Room
- Action: INDEX
You can learn more about building and applying menus at other tutorials.
CONGRATULATIONS!
Congratulations on creating a fully functioning application for Rudolfo Hotel!
You have developed great skills in creating apps in Codejig App Builder. Now you are willing to create complex applications to manage your business and organize life!